Pop!_OS 22.04 is an Ubuntu-based Linux distribution featuring a custom GNOME Shell experience.The project’s latest release is Pop!_OS 22.04 LTS (Long Term Support), which is now available for download. This release includes a number of improvements, including better support for HiDPI displays, folding views in the file manager, and updated software packages.
In this article, we’ll look at the new features in Pop!_OS 22.04 along with a detailed step-by-step guide to install Pop!_OS 22.04 with screenshots.
New Features
Let’s look at the new features released with the emerald version:
- Pop!_Shop – A Software Store for Pop!_OS
- Pop!_Shell – A Custom Tiling Extension for Pop!_OS
- Pop!_OS Installer – A New Installer for Pop!_OS
- New default theme – “Pop!_OS Blue”
- Updated System Settings Panel
- Updated Pop!_OS Icon Theme
- Updated Pop!_OS Wallpapers
Pop!_OS: Step-by-Step Installation Guide
To install Pop!_OS, please adhere to the steps provided below.
Step 1) Check Minimum Requirements
Before we begin, there are a few things you’ll need to make sure you have:
- A computer with an internet connection having
- 1GHz 64-bit processor or more
- 2GB RAM or more
- 16 GB HDD
- Installation Media ( USB Drive of Size 4GB)
Step 2) Download Pop!_OS ISO
To start the installation proceedings, you must download a copy of Pop!_OS ISO in your system. You can download the latest version of the ISO file here.
Step 3) Create Installation Media
Once everything is set, you need to create a USB installation media to start Pop!_OS installation in your system. You need to copy the downloaded ISO file into your USB drive and create a boot disk. Next, change the boot settings to boot using the USB disk and restart your system
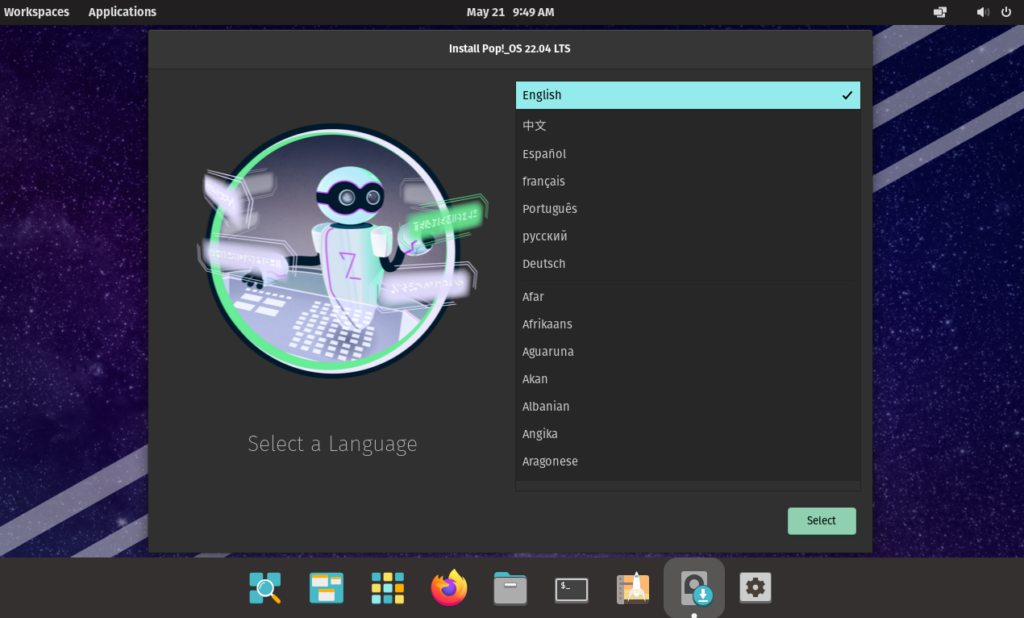
Step 4) Choose Language settings
In the next screen, you will be asked to choose the language of your choice. By default, English is the language selected. So, select your preferred language and hit enter
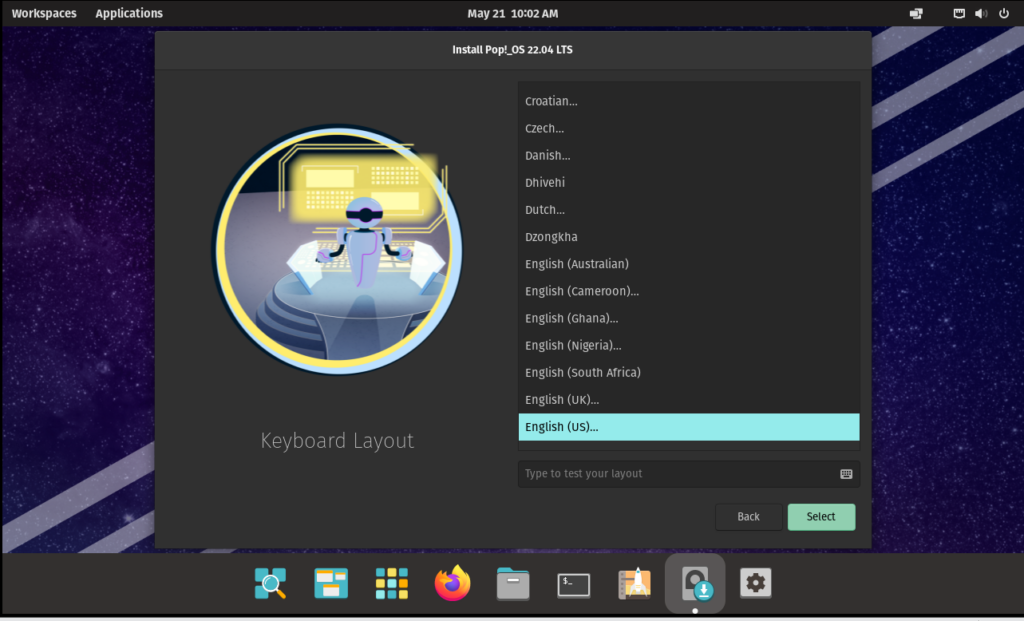
Step 5) Choose Keyboard layout
Next, Installer will ask to select the keyboard layout. So, choose according to your setup.
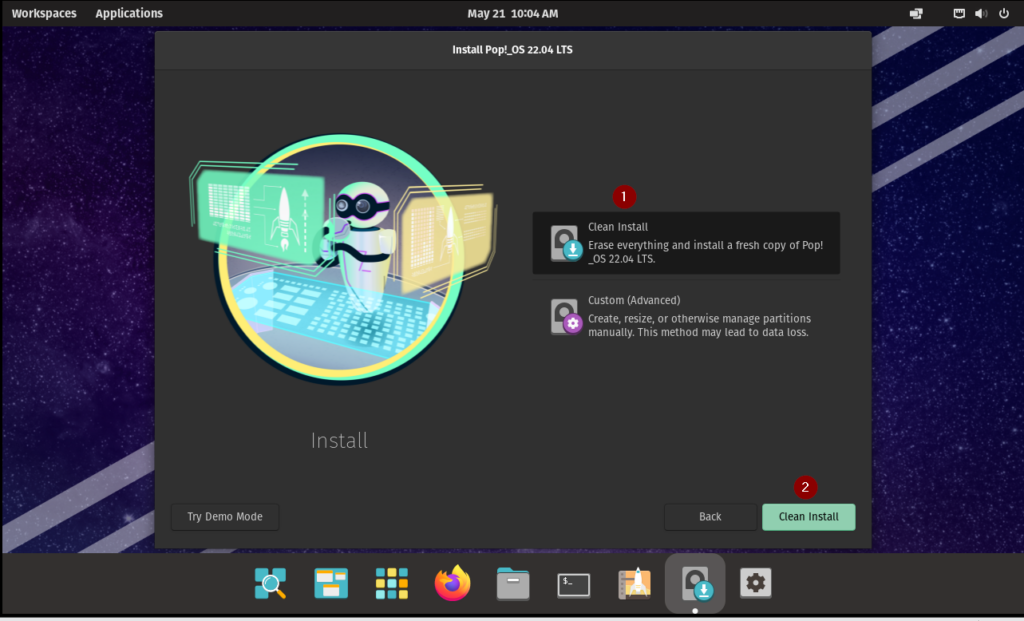
Step 6) Installation Type
The next step is to choose the installation type where you will have two options:
- Clean Install
- Custom Install
By choosing clean install, Installer will erase everything in the system and install a fresh copy of Pop!_OS 22.04.
Custom Install option means you will manually install Pop!_OS 22.04 by creating custom partitions. This option is used when you want install Pop!_OS alongside existing OS in your system.
For this demo purpose, we’ll choose clean install.
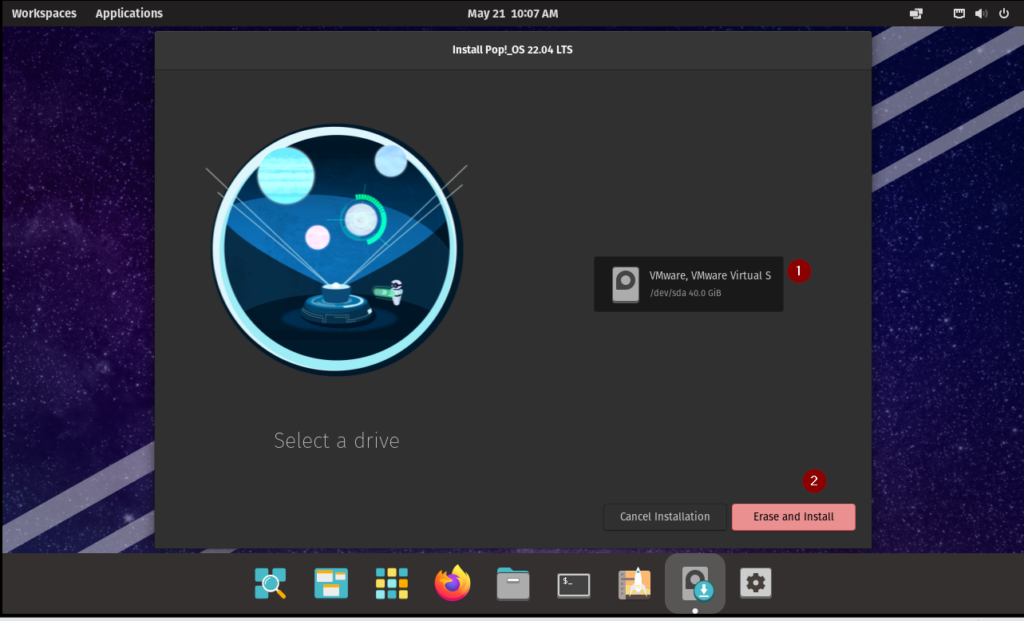
Select the disk on which you want to Install Pop!_OS and then click on ‘Erase and Install’ option.
Step 7) Create User Account
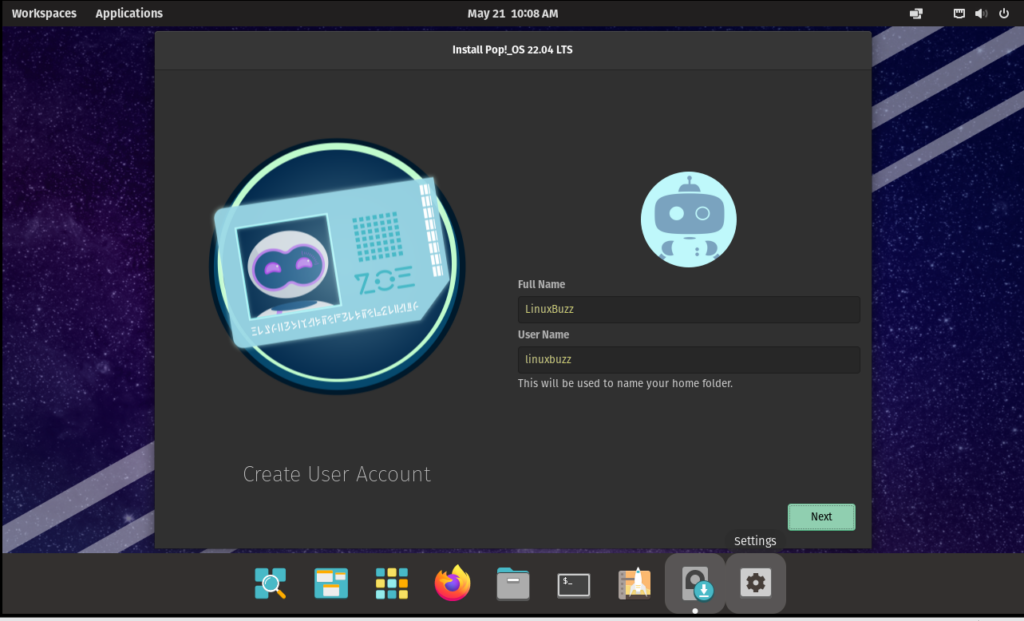
In the nest step, you’ll be asked to provide Full name and username for local account. This account will be used to log in to system after installation.
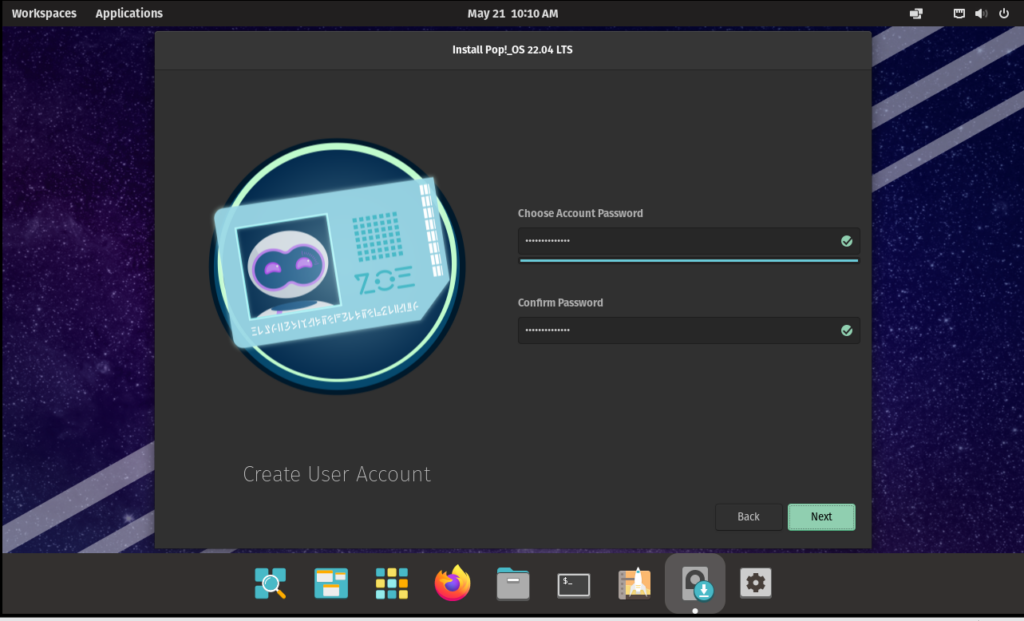
After entering the details Click on ‘Next’ and in the following window specify password for above local user.
Step 8) Drive Encryption
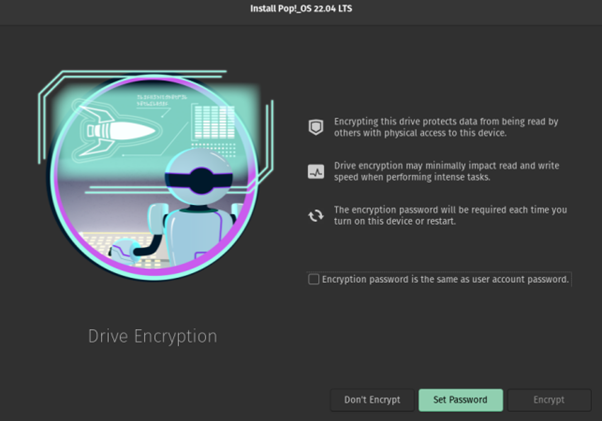
Since you’ve chosen a clean install, you’ll be asked whether you need to encrypt the drive. If you choose to encrypt, then you can also setup and encryption password.
If you don’t want to encrypt the hard disk, then click on ‘Don’t Encrypt’ option.
Step 9) Begin Installation
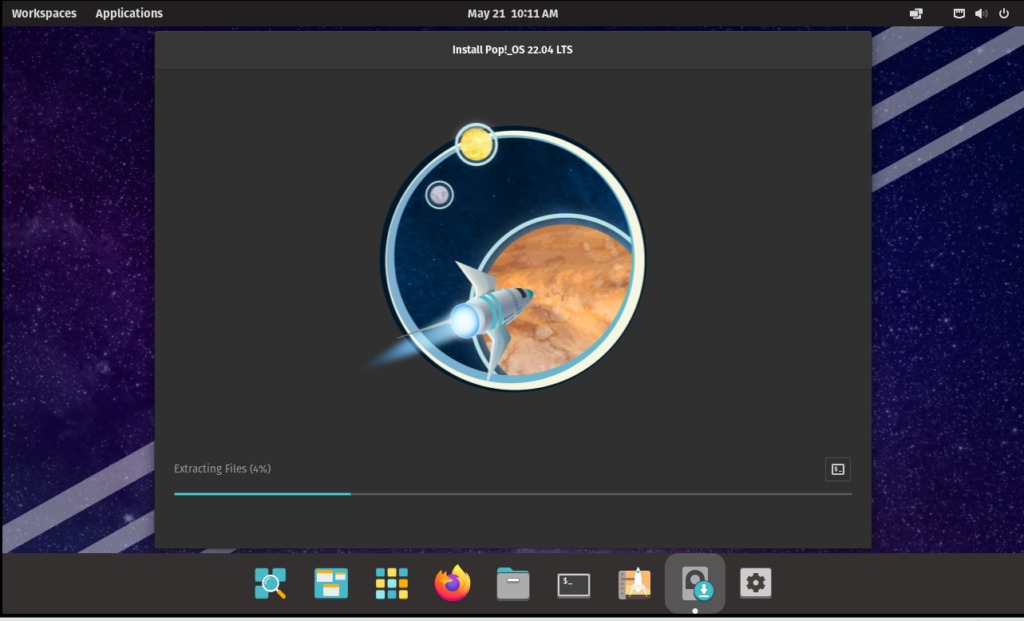
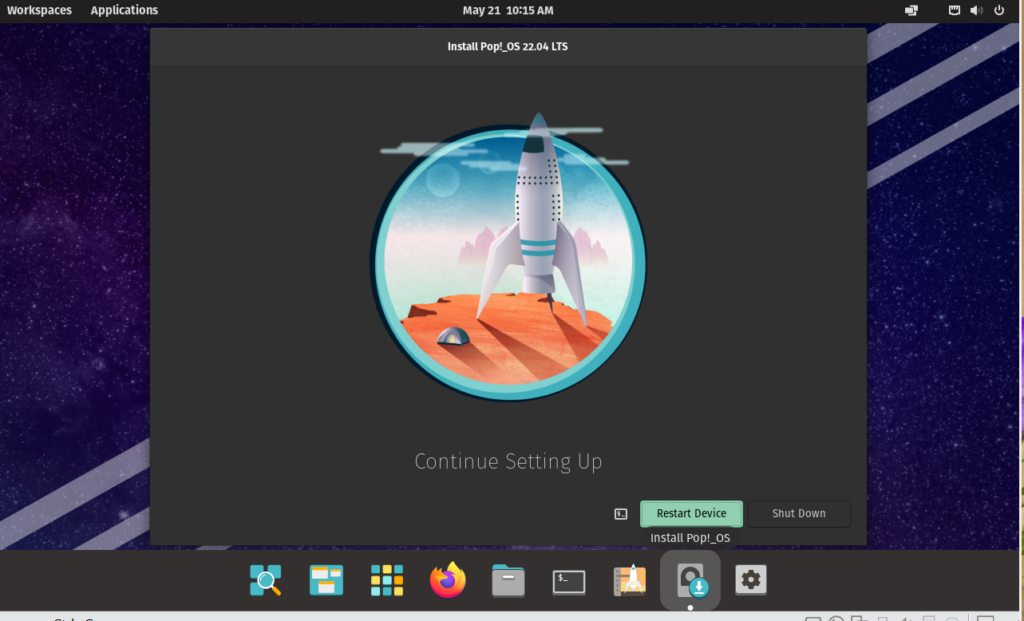
Once you completed all formalities, the installation process begins.
Once the installation is completed, restart your system to explore the various features of Pop!_OS 22.04
Click on ‘Restart Device’.
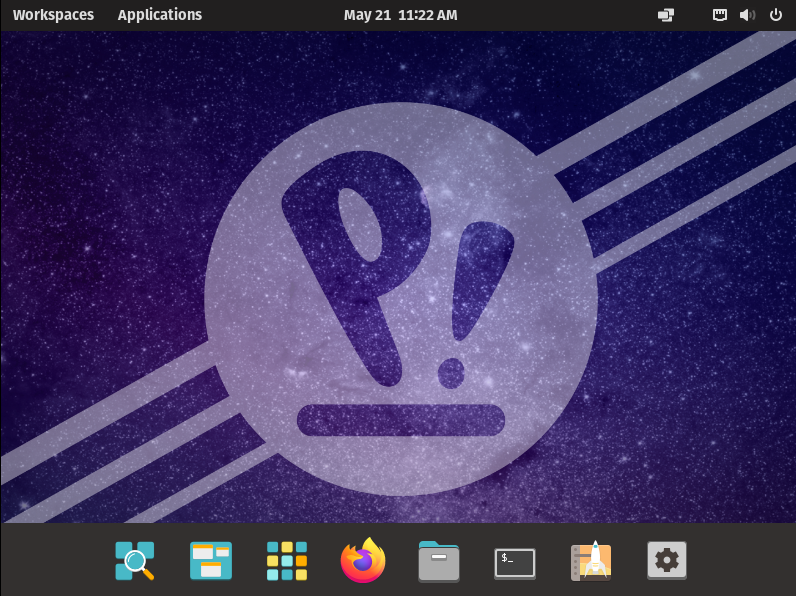
Step 10) Login Screen and Desktop Environment
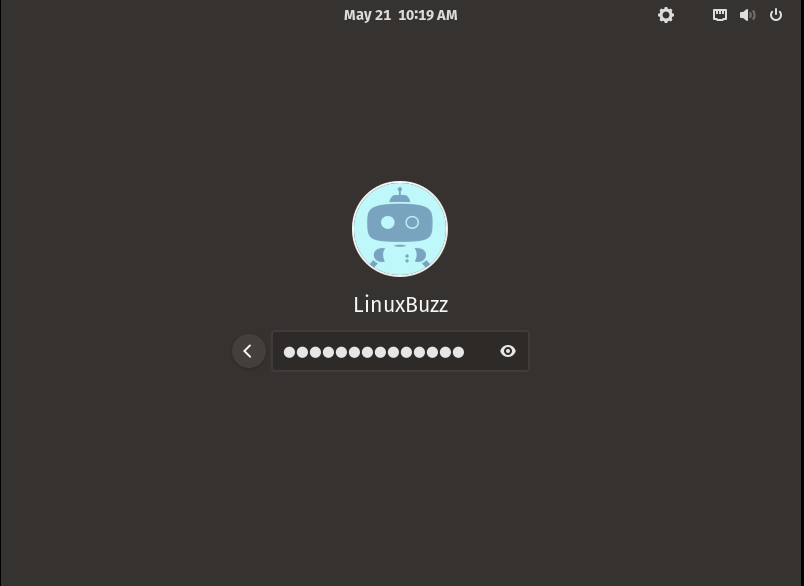
When the system boots up after the reboot, we will get following login screen. Use he same user credentials that we have created during the installation.
After entering the credentials, press enter.
Final Words
Congratulations! You have now completed the process of installing Pop!_OS 22.04 on your computer. You should now have a fully functioning OS that is ready to be used for your day-to-day tasks. If you encounter any issues during the installation process or afterwards, feel free to leave a comment below and I will be more than happy to help you out.
