Kubernetes has revolutionized the world of container orchestration, enabling developers to manage and scale their applications effortlessly. While setting up a Kubernetes cluster can be a daunting task, K3s, a lightweight Kubernetes distribution, makes the process much more accessible.
In this guide, we’ll walk you through the step-by-step process of setting up k3s Kubernetes cluster on Ubuntu 22.04.
Prerequisites
Before we dive into the installation, let’s ensure we have the necessary prerequisites:
- A machine or VM running Ubuntu 22.04 (physical or virtual).
- A user account with sudo privileges to execute administrative tasks.
Step 1: Update System Packages
First, let’s update our system’s package index and upgrade the installed packages to their latest versions:
$ sudo apt update
$ sudo apt upgrade -y
Reboot the system after installing updates,
$ sudo reboot
Step 2: Install Required Tools
Next, we need to install some essential tools like curl and wget, which will help us with the installation process:
$ sudo apt install -y curl wget
Step 3: Install K3s Kubernetes Cluster
Now comes the exciting part – installing K3s!, run the beneath curl command,
$ curl -sfL https://get.k3s.io | sh –
Kubernetes installation may take couple of minutes,
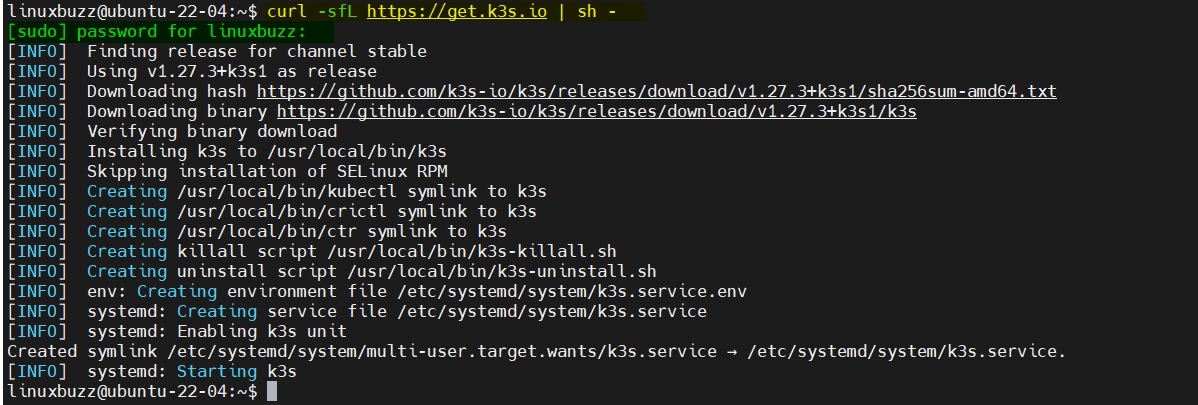
Perfect, above output confirms that script has been executed successfully. Next check the status of K3s using the following command:
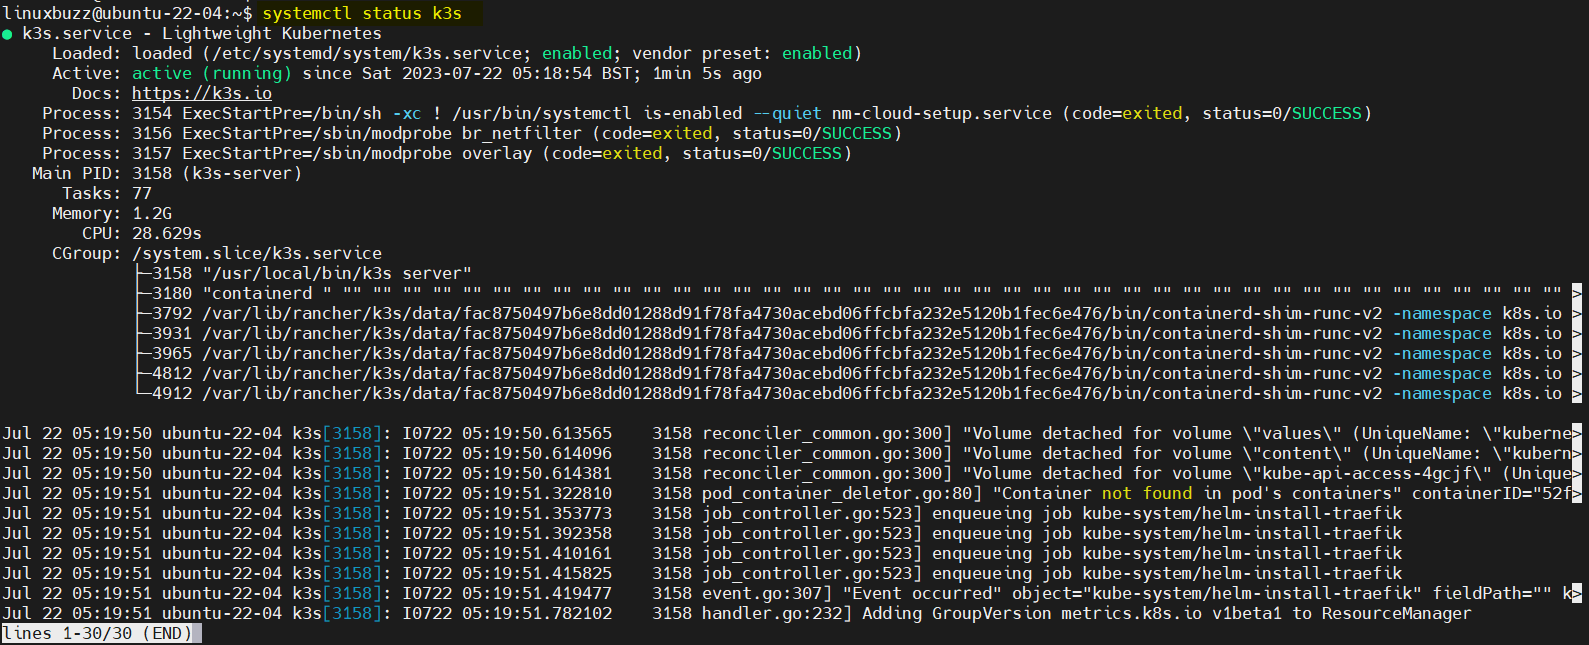
$ sudo systemctl status k3s
If everything is working correctly, you should see a status message indicating that K3s is active and running.
Step 4: Configure Kubectl
To interact with the K3s Kubernetes cluster, you need to configure the kubectl command-line tool to communicate with the K3s API server. The K3s installation script install kubectl binary automatically for you.
Run the following commands to configure kubectl,
$ mkdir ~/.kube
$ sudo cp /etc/rancher/k3s/k3s.yaml ~/.kube/config && sudo chown $USER ~/.kube/config
$ sudo chmod 600 ~/.kube/config && export KUBECONFIG=~/.kube/config
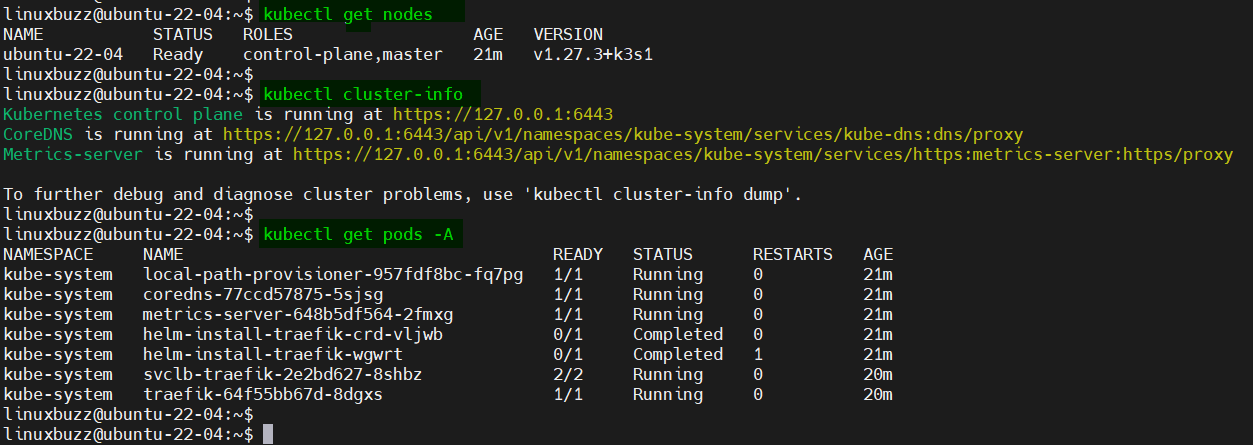
To ensure everything is set up correctly, let’s verify our cluster’s status:
$ kubectl get nodes
$ kubectl cluster-info
$ kubectl cluster-info
Step 5: Test K3s Kubernetes Cluster
To test k3s Kubernetes cluster installation, let’s deploy an nginx based deployment, run following kubectl command,
$ kubectl create deployment  nginx-deployment --image nginx --replicas 2
$ kubectl get deployment nginx-deployment
$ kubectl get pods

Now, expose this deployment, run
$ kubectl expose deployment nginx-deployment --type NodePort --port 80
$ kubectl get svc nginx-deployment

Try to access your nginx application using following curl command,
$ curl <Your-Ubuntu-System-IP-Address>:30284
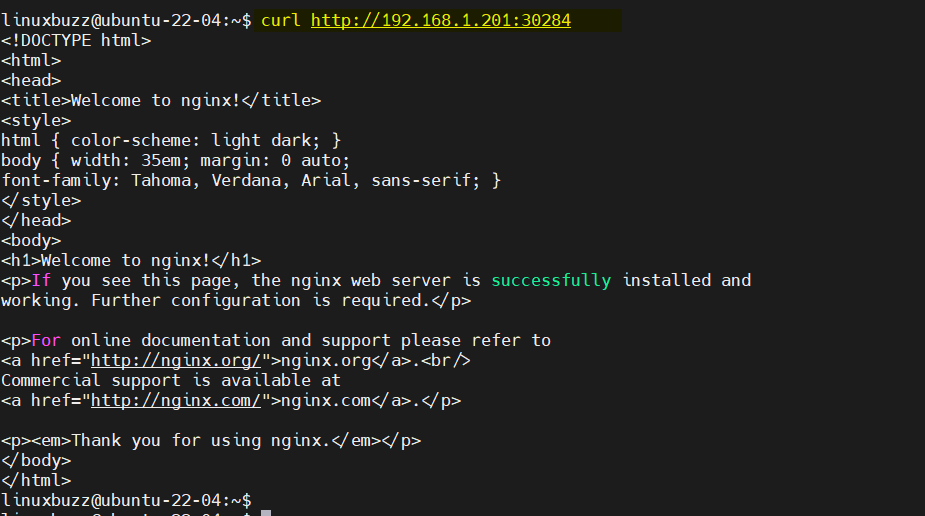
Great, output above confirms that you can access your nginx based application. This confirms your k3s Kubernetes cluster is working fine.
Step 6: Install and Access k3s Kubernetes Dashboard
To install Kubernetes dashboard, run following kubectl command,
$ kubectl apply -f https://raw.githubusercontent.com/kubernetes/dashboard/v2.7.0/aio/deploy/recommended.yaml
$ kubectl get pods,svc -n kubernetes-dashboard
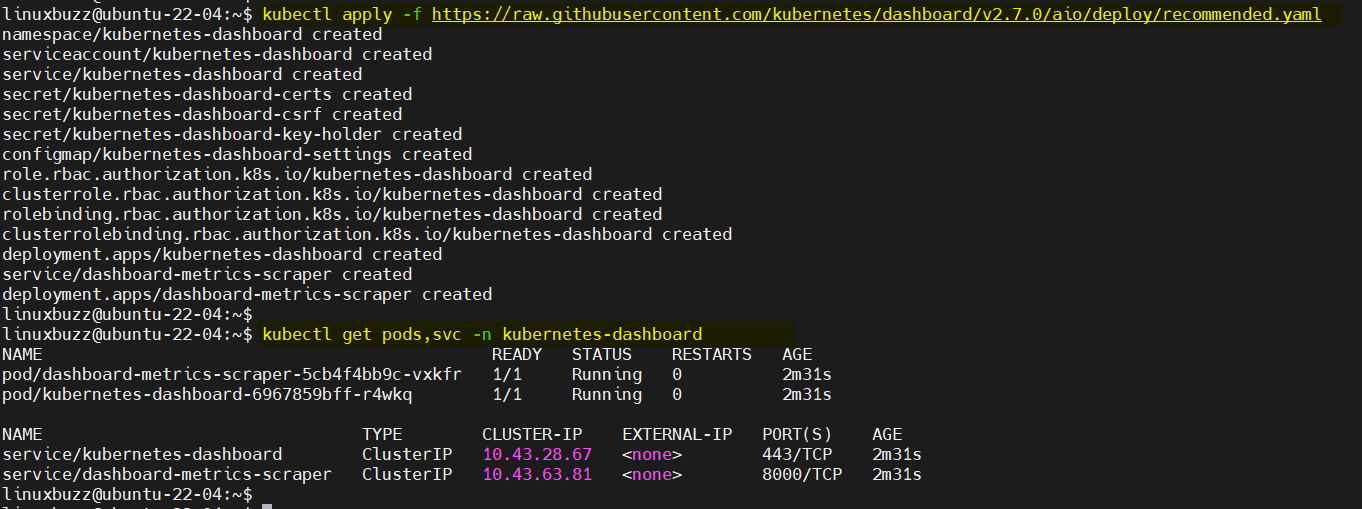
Change the service type from ClusterIP to Nodeport , run
$ kubectl patch svc kubernetes-dashboard --type='json' -p '[{"op":"replace","path":"/spec/type","value":"NodePort"}]' -n kubernetes-dashboard
$ kubectl get svc -n kubernetes-dashboard

Next create service account and assign cluster role to it, create k3s-dashboard.yaml file with following content,
$ vi k3s-dashboard.yaml
apiVersion: v1
kind: ServiceAccount
metadata:
  name: admin-user
  namespace: kube-system
---
apiVersion: rbac.authorization.k8s.io/v1
kind: ClusterRoleBinding
metadata:
  name: admin-user
roleRef:
  apiGroup: rbac.authorization.k8s.io
  kind: ClusterRole
  name: cluster-admin
subjects:
- kind: ServiceAccount
  name: admin-user
  namespace: kube-system
save and close the file.
Next, run the following kubectl command to create service account and assign cluster admin role to it.
$ kubectl create -f k3s-dashboard.yaml
serviceaccount/admin-user created
clusterrolebinding.rbac.authorization.k8s.io/admin-user created
$
Get the token now, which will be used to login Kubernetes dashboard,
$ kubectl -n kube-system create token admin-user

Copy this token and open the web browser, type following URL
https://<Ubuntu-System-IP-Address>: 32117
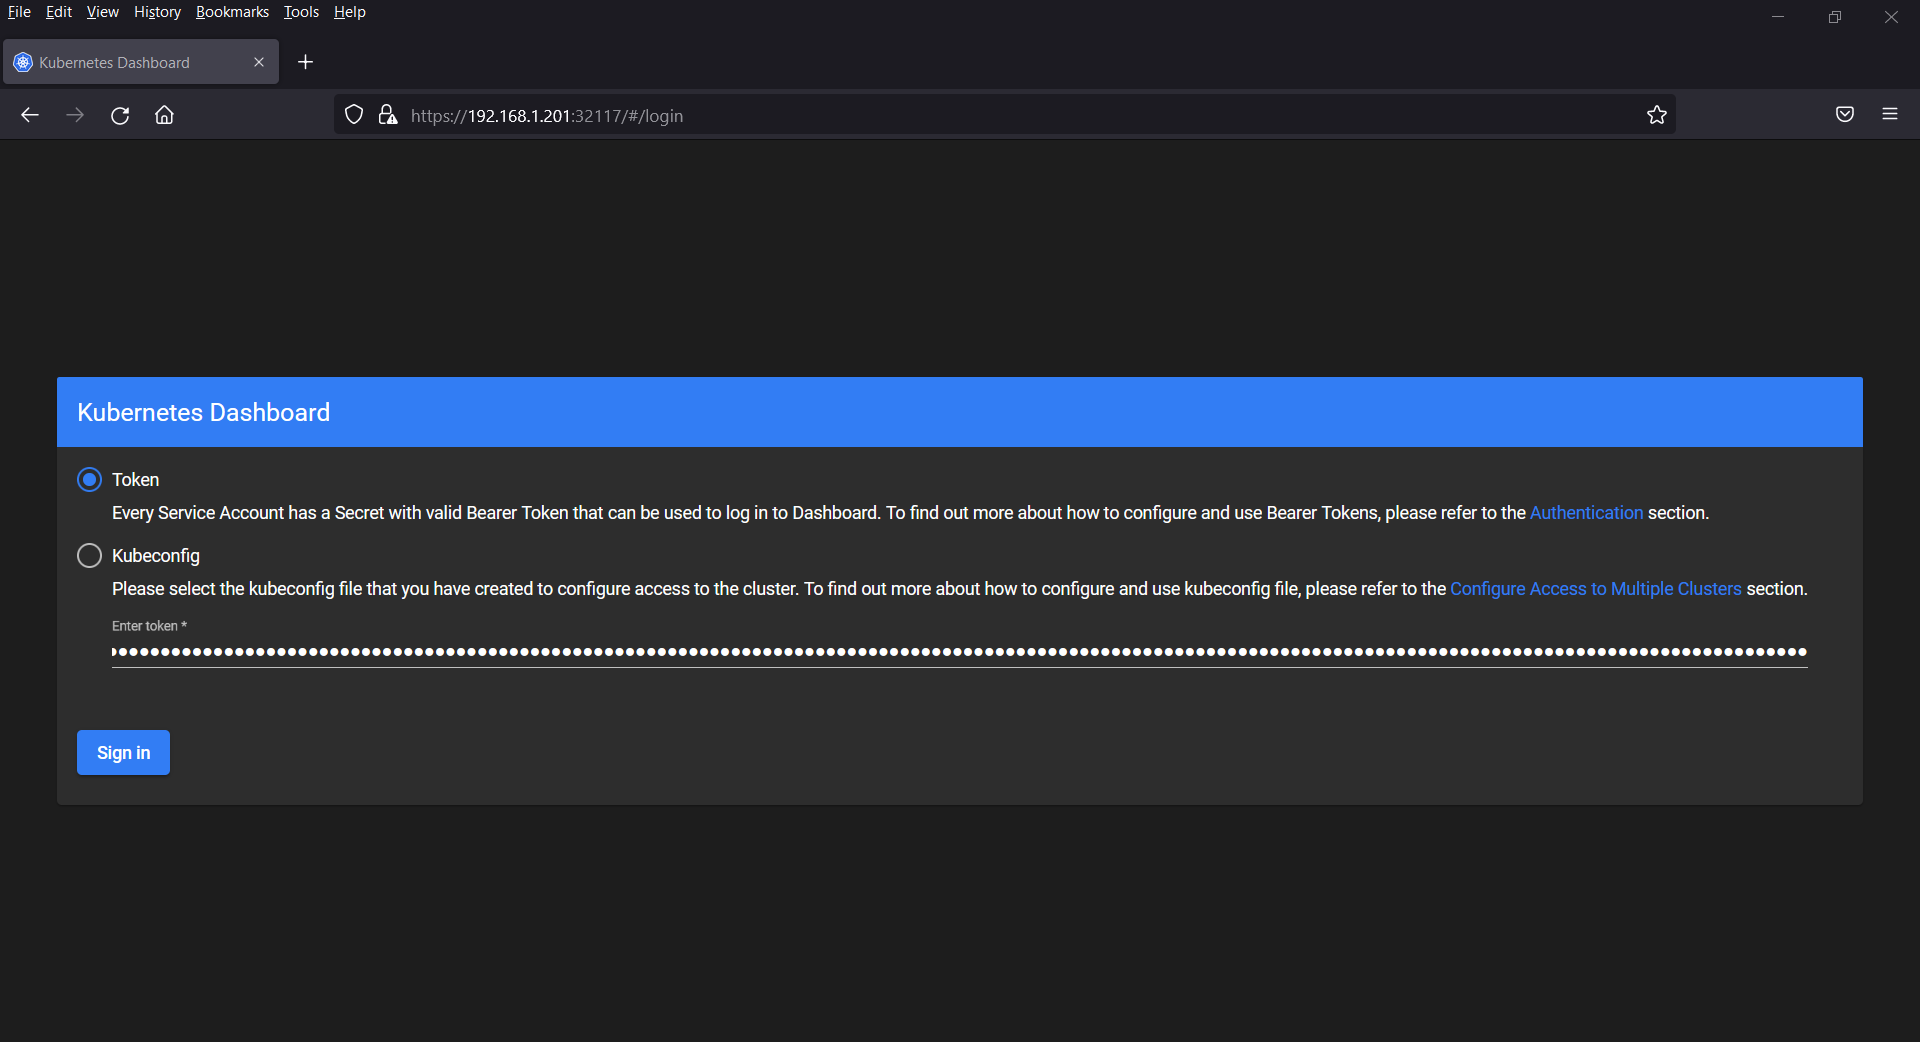
Paste the token and then click on “Sign In”
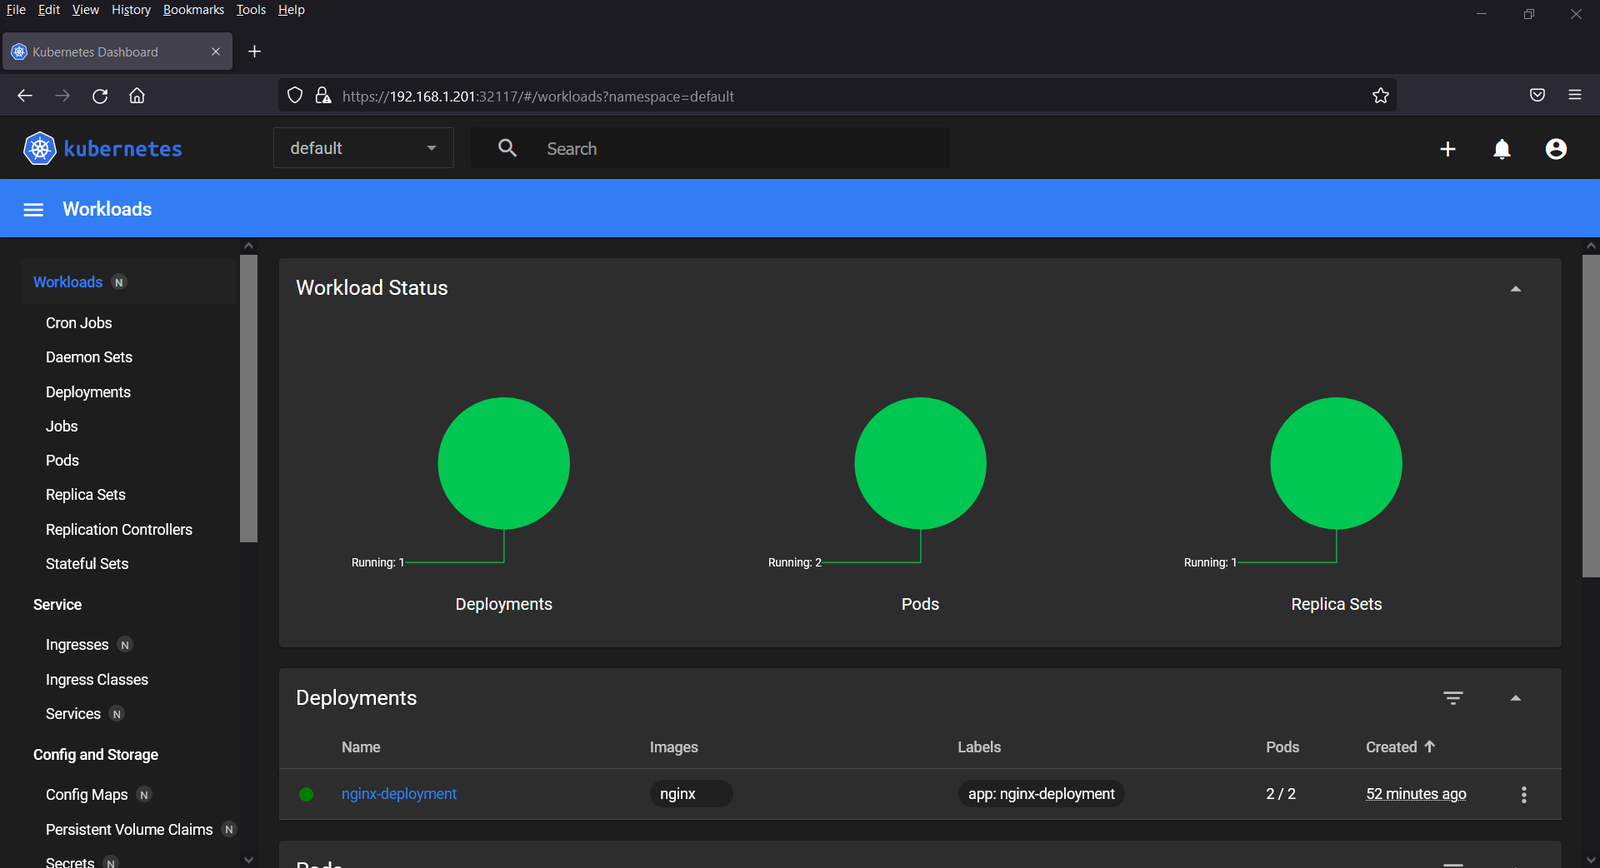
That’s all from this post, I hope you found it useful and informative. Kindly do post your queries and feedback in below comments section.
Remember, K3s is designed to be lightweight and easy to manage. However, depending on your application’s requirements, you might want to explore more advanced configurations, such as High Availability (HA) setups and networking options.
Conclusion
Kubernetes is a powerful tool for container orchestration, and K3s simplifies the process of setting up a Kubernetes cluster on Ubuntu 20.04. In this guide, we’ve walked through the installation steps, from updating the system to verifying the cluster’s status. Now it’s time to unleash the full potential of Kubernetes by deploying and scaling your applications with ease.
Also Read: How to Install MiniKube on Rocky Linux 9 (Simple Guide)
great step by step, thanks a lot Pradeep!
Thanks! This was exactly what I was looking for to get started with my oracle instance.
Thank you for this documentation. Works like a charm.