Bodhi Linux 5.0 is a lightweight and elegant Linux distribution entirely based on Ubuntu. The main idea behind Bodhi Linux is to provide a distro with only minimalistic features with which the users can build over it by populating with the software’s they prefer. The distro features an exciting desktop in the “Moksha Desktop“. With the launch of version 5.0, Bodhi Linux features the latest 18.04 Ubuntu Core along with few enhancements.
Minimum system requirements for Bodhi Linux 5.0
The minimal system requirements you need to install Bodhi Linux 5.0 are:
- 1 GB RAM
- 1 GHz processor
- 10 GB drive Space
- Bootable USB / DVD
- Internet (Optional)
Step-by-Step Guide to Install Bodhi Linux 5.0
Step 1) Download Bodhi Linux 5.0
First step is to ensure you download Bodhi linux 5.0 in your system. Please click the link here to download
Step 2) Create a Bootable Disk
Once you have downloaded the Bodhi Linux 5.0 ISO file, Create a bootable Bodhi Linux 5.0 either in USB or CD/DVD. Once the Bodhi Linux Bootable disks is ready then reboot the target system and make sure you modify the boot sequence so that target system is booted using the bootable disk.
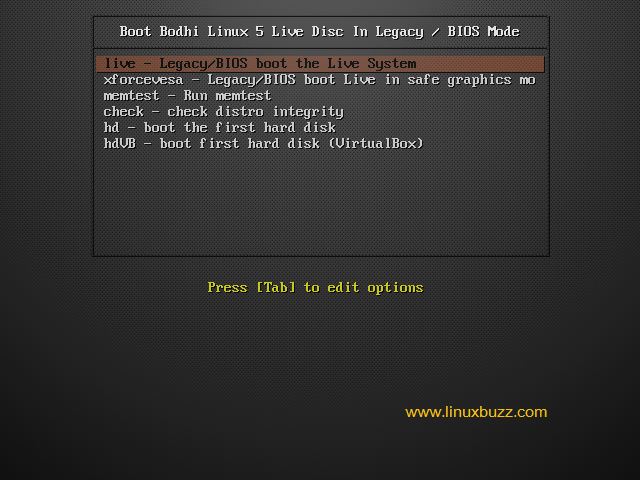
Step 3) Bodhi Linux Boot Screen
Once the system boots using the bootable USB /CD/DVD , you can see the Bodhi Linux install screen providing you with various options. Just click on the “live –Legacy/BIOS boot the live system” to start the installation process.
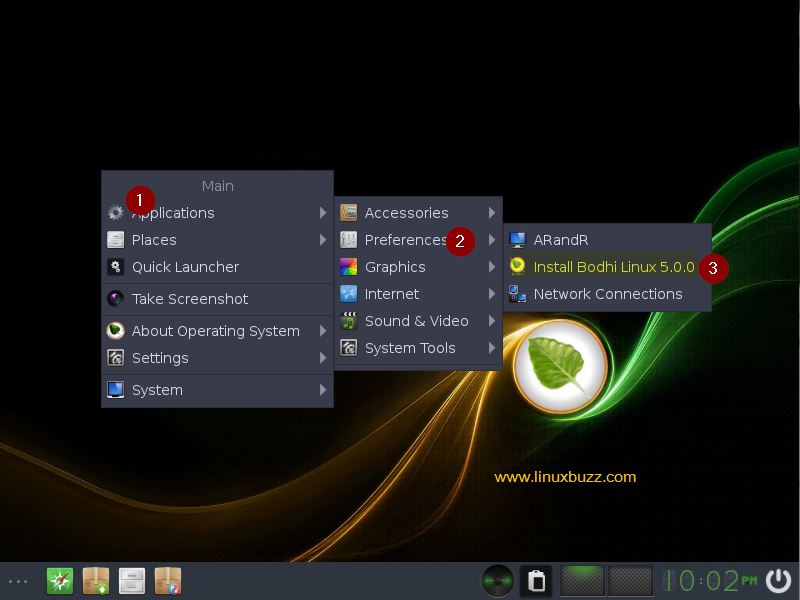
But the problem here with Bodhi Linux 5.0 installation, the installer doesn’t start automatically from the bootable disk. Once you boot into the live environment, you need to manually locate the “Install Bodhi Linux 5.0.0” icon to start the installation process.
Example is shown below,
Click on “Install Bodhi Linux 5.0.0”
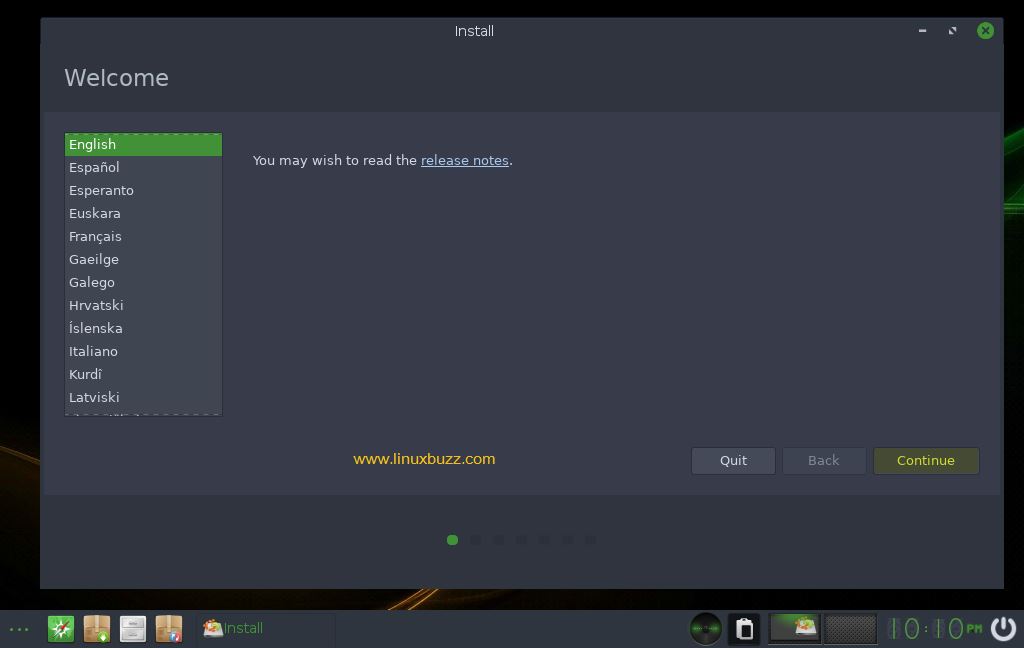
Step 4) Select your preferred Language
Select your preferred language and then click on continue
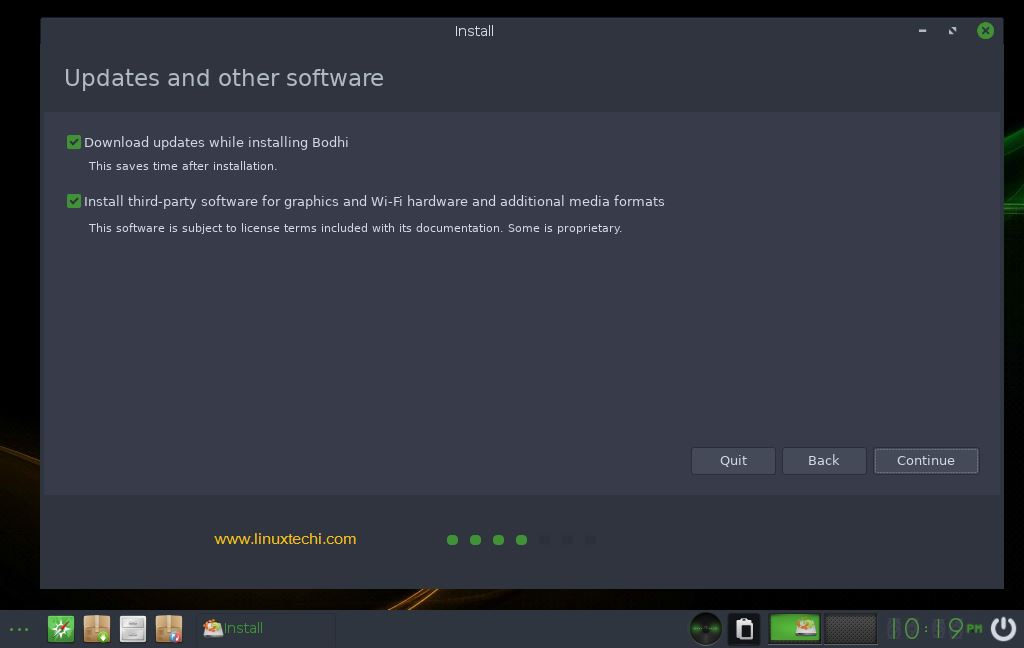
Step 5) Install Updates and other Software
Next screen will ask whether you need to download updates and other third-party software while Bodhi Linux 5.0 is being installed. Tick the both options if your system is connected to internet else uncheck them and click on Continue
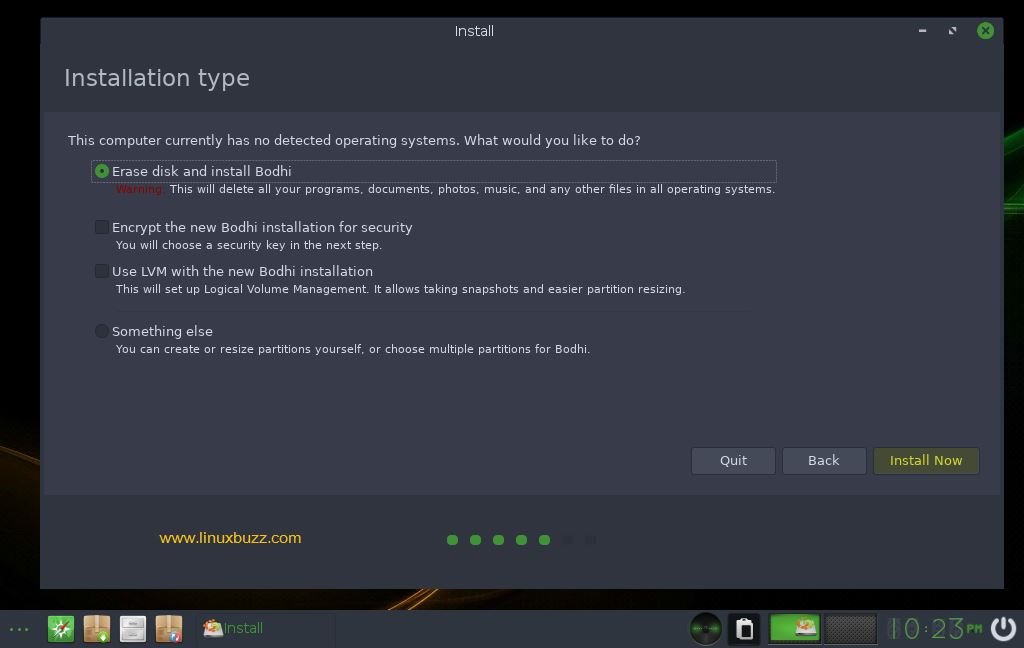
Step 6) Installation Type
In the next screen, you’ll see 4 options,
- Erase Disk and Install Bodhi
- Encrypt the new Bodhi installation for security
- Use LVM with the new Bodhi installation
- Something Else
If you are installing Bodhi Linux in a new system and you are new to Linux Desktop, then click on “Erase Disk and Install Bodhi“. But if you are installing in a system that already has another distro, then you can click on “Something Else” and create your own partition to install Bodhi Linux 5.0.
In my case I have 40 GB hard drive for Bodhi Linux, I will choose the first option and click on “Install Now”, installer will automatically create partitions for me.
In the next screen click on Continue to write changes to the disk
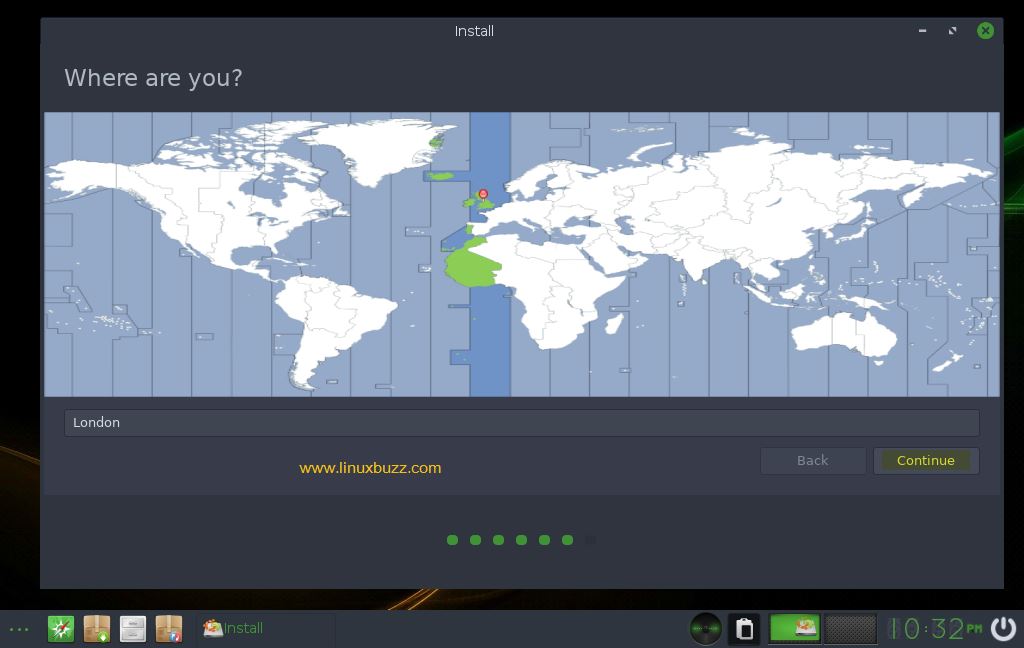
Step 7) Select Your Location
Select your preferred location and click “Continue”
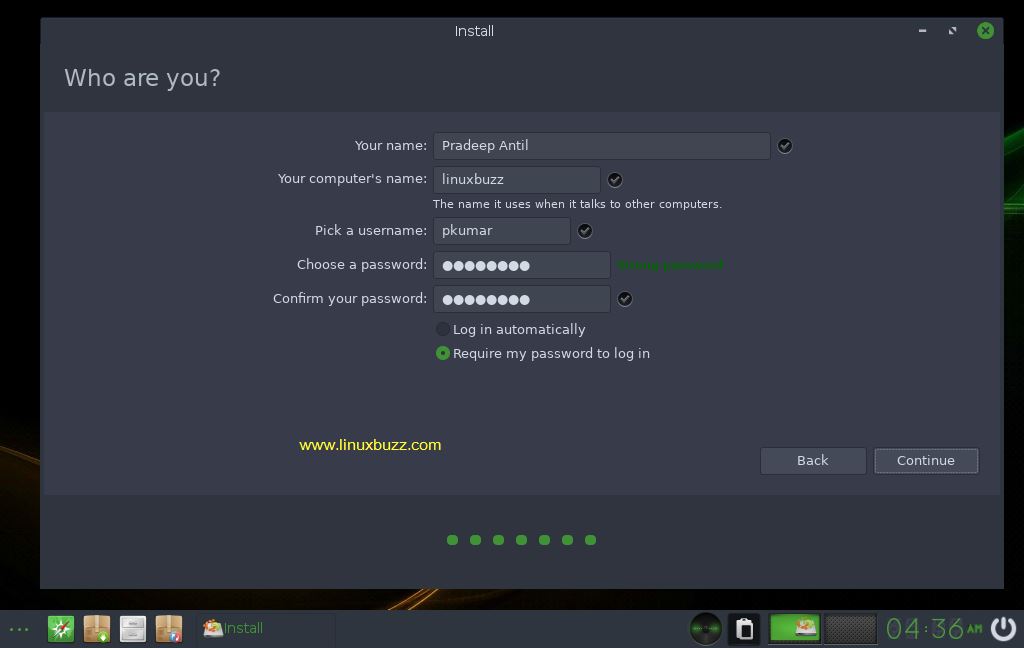
Step 8) Create Your User Account
Next screen will ask you to create your new Bodhi Linux 5.0 user account and hostname for your system.
In this screen, provide details like your name, computer name, username, password and click continue
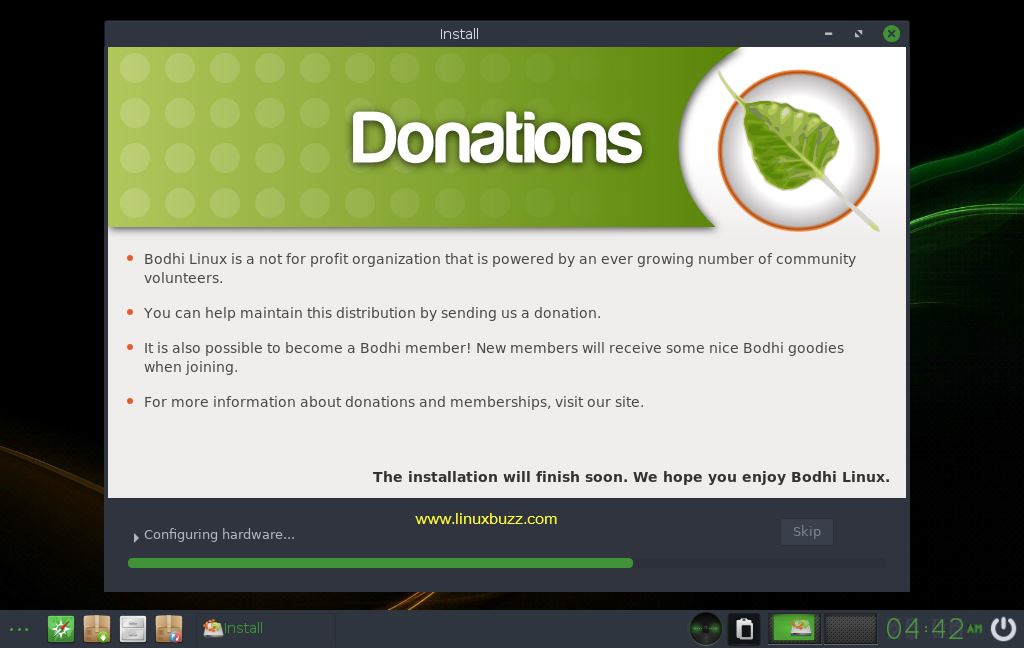
Step 9) Bodhi Linux 5.0 Installation Progress
Finally it’s time for the installation. Just sit back and relax while the installer gets on with the process of installing the all new Bodhi Linux 5.0 in your system.
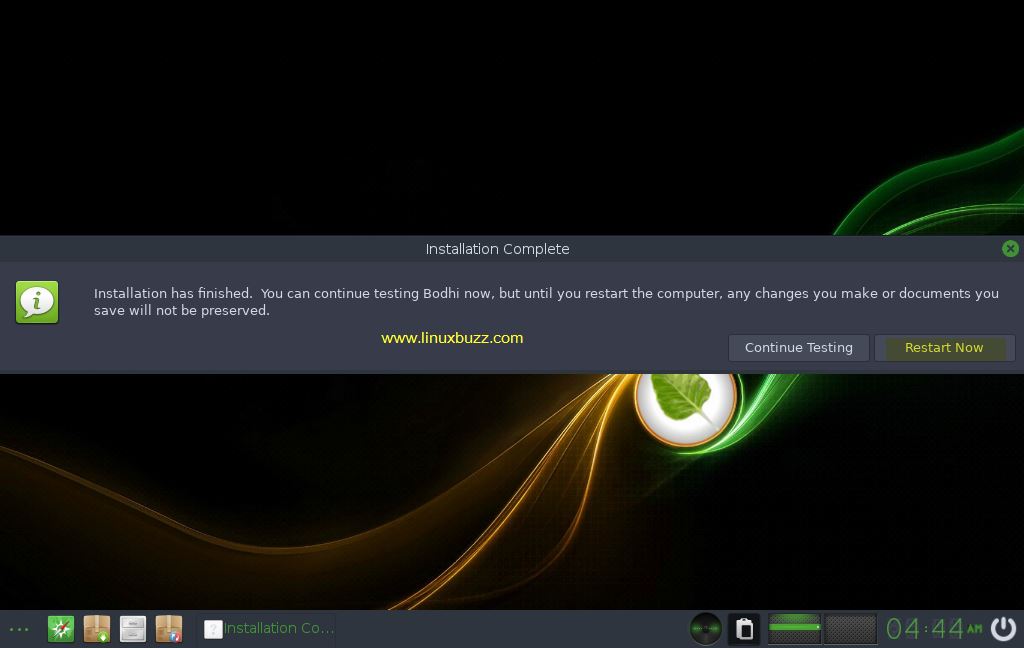
Once the installation is completed, restart your system
Step:10) Login Screen and Desktop after Installation
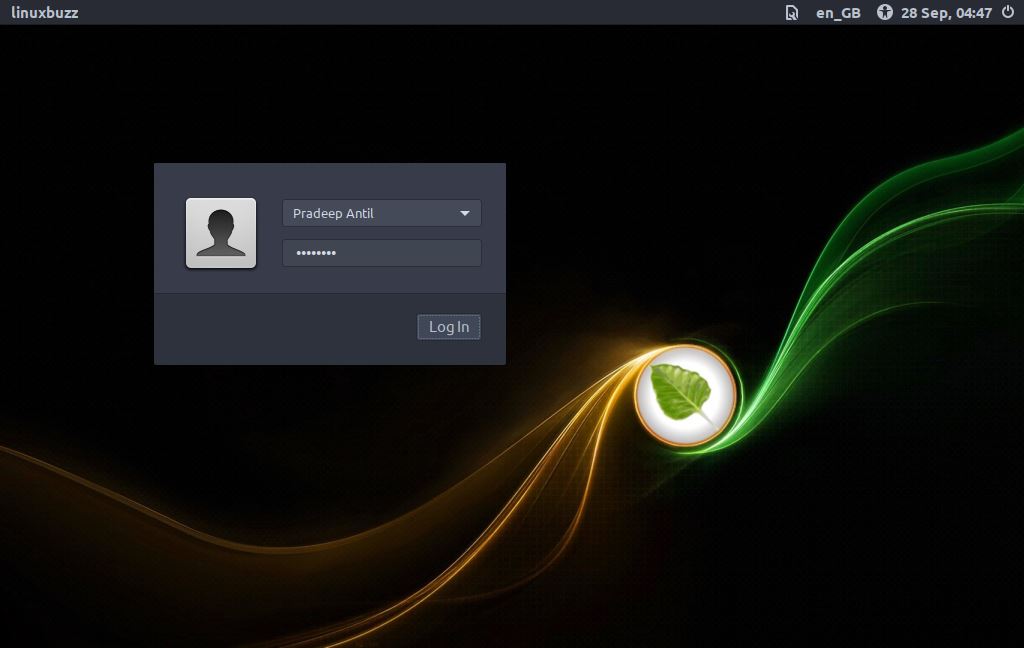
Once we reboot the system after successful installation, then we will get below login screen, use the same user name & its password that we have created during the installation
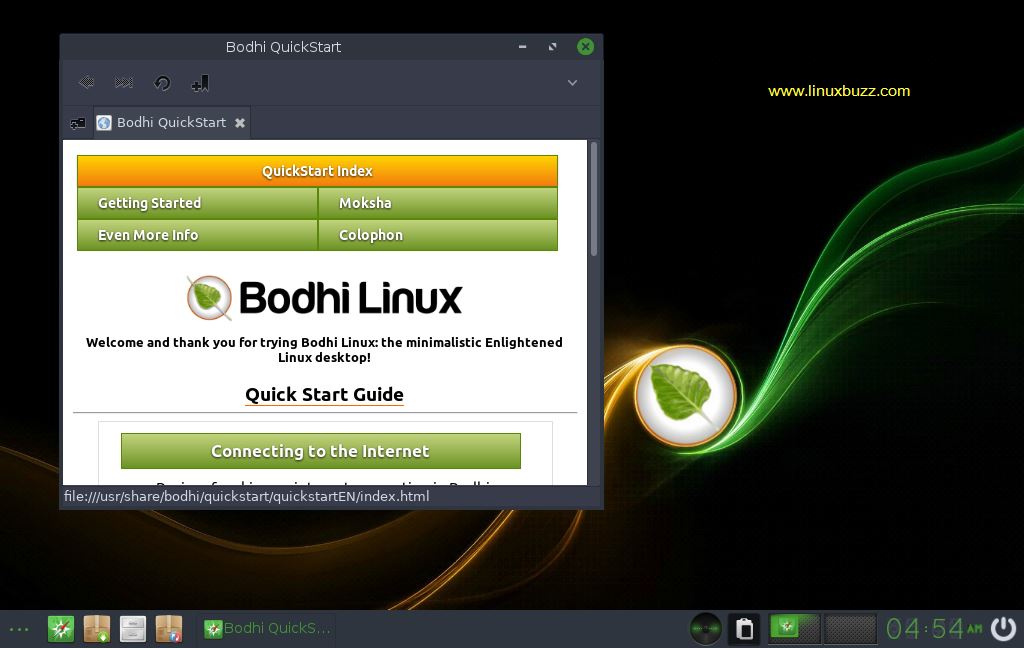
This confirms that we have installed latest version of Bodhi Linux 5.0.0 successfully and now enjoy all the new features of this exciting Linux distribution.

Sort of like Lubuntu, but brandable.