In this blog post, we will cover how to install Sonarqube with docker Compose on Ubuntu 22.04
SonarQube, an open-source platform, helps developers maintain code quality through continuous inspection and analysis. Installing SonarQube on Ubuntu 22.04 using Docker Compose provides a convenient and scalable solution.
Prerequisites
- Pre-Install Ubuntu 22.04
- Sudo User with admin access
- Internet Connectivity
1. Install Updates on Your System
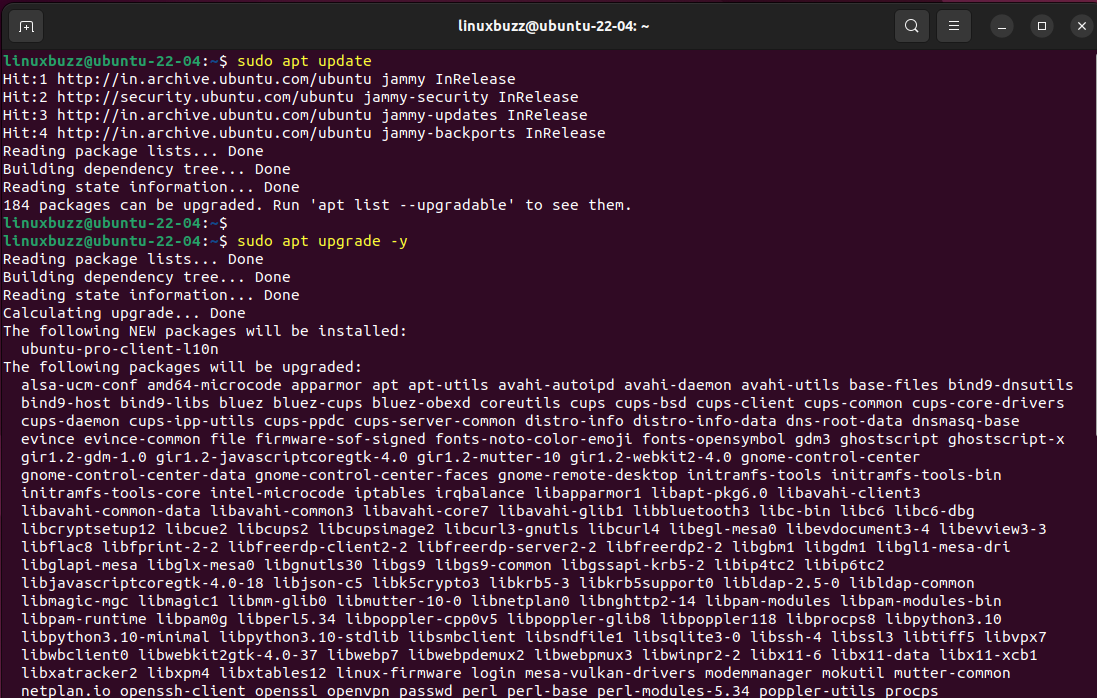
Before diving into the installation process, ensure that your Ubuntu 22.04 system is up to date. Run the following commands from the terminal.
$ sudo apt update
$ sudo apt upgrade -y
2. Install Docker and Docker Compose
SonarQube will be deployed using Docker, so let’s start by installing Docker and Docker Compose. Docker and docker compose packages are available in the default package repositories, so its installation straightforward, execute the following commands:
$ sudo apt install docker.io docker-compose -y
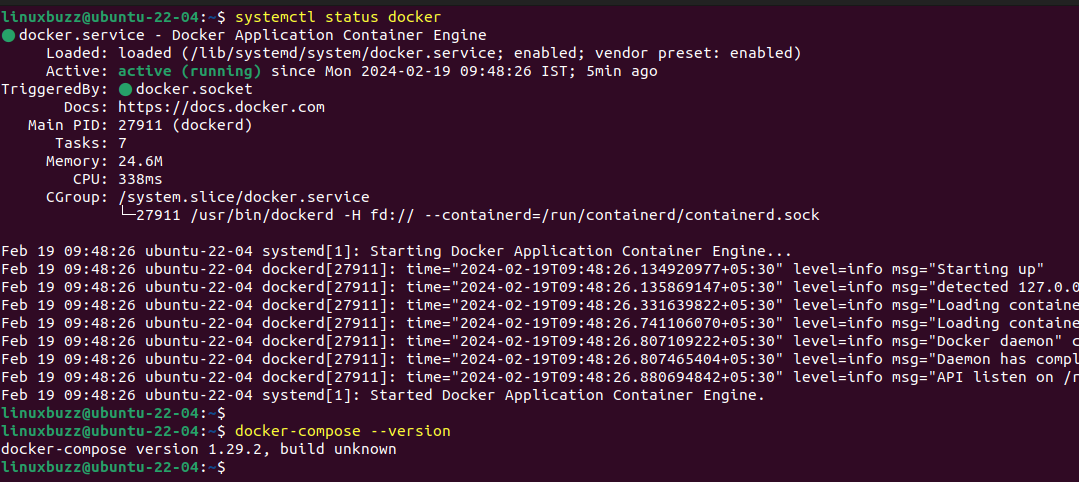
Docker service started automatically whenever we install docker package, run the following docker command to verify docker service status and docker-compose version.
$ systemctl status docker
$ docker-compose --version
Add Your local user to docker group so that it can execute docker admin commands with appending sudo.
$ sudo usermod -aG docker $USER
$ newgrp docker
3. Creating a Docker Compose File for SonarQube
Next, let’s create a directory for our SonarQube setup and navigate into it:
$ mkdir sonarqube
$ cd sonarqube
Now, create a `docker-compose.yml` file using your preferred text editor:
$ vi docker-compose.yml
Paste the following configuration into the file:
version: '3'
services:
  sonarqube:
    image: sonarqube:latest
    container_name: sonarqube
    ports:
      - "9000:9000"
      - "9092:9092"
    environment:
      - SONARQUBE_JDBC_USERNAME=sonarqube
      - SONARQUBE_JDBC_PASSWORD=sonarqube
      - SONARQUBE_JDBC_URL=jdbc:postgresql://db:5432/sonar
    networks:
      - sonarnet
    volumes:
      - sonarqube_data:/opt/sonarqube/data
      - sonarqube_extensions:/opt/sonarqube/extensions
      - sonarqube_logs:/opt/sonarqube/logs

  db:
    image: postgres:latest
    container_name: postgres
    environment:
      - POSTGRES_USER=sonarqube
      - POSTGRES_PASSWORD=sonarqube
    networks:
      - sonarnet
    volumes:
      - postgresql:/var/lib/postgresql

networks:
  sonarnet:
    driver: bridge

volumes:
  sonarqube_data:
  sonarqube_extensions:
  sonarqube_logs:
  postgresql:
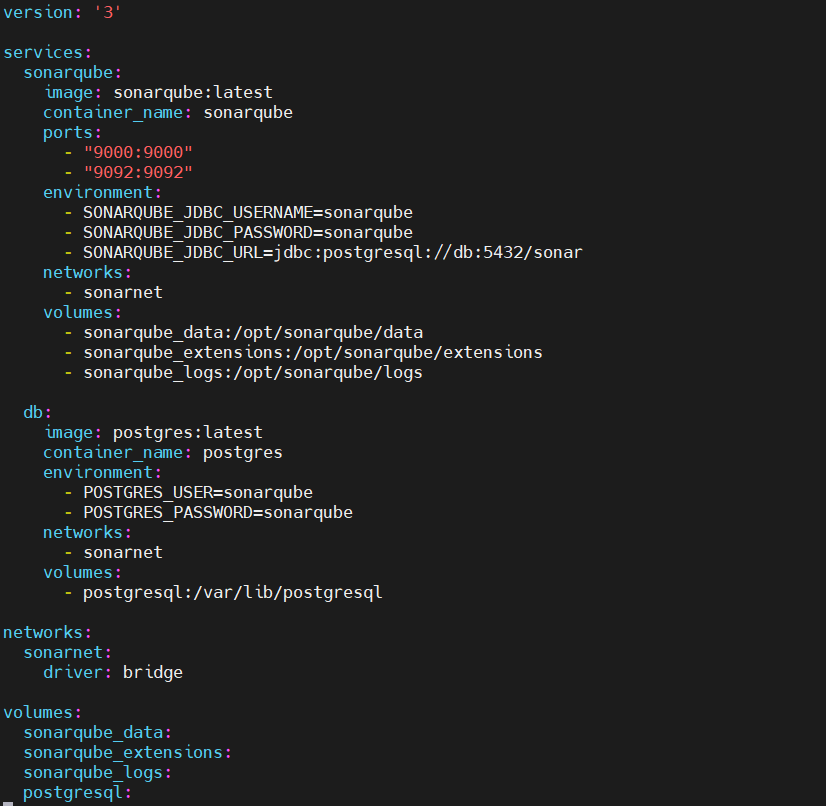
Save and close the file.
4. Install SonarQube Using Docker Compose on Ubuntu 22.04
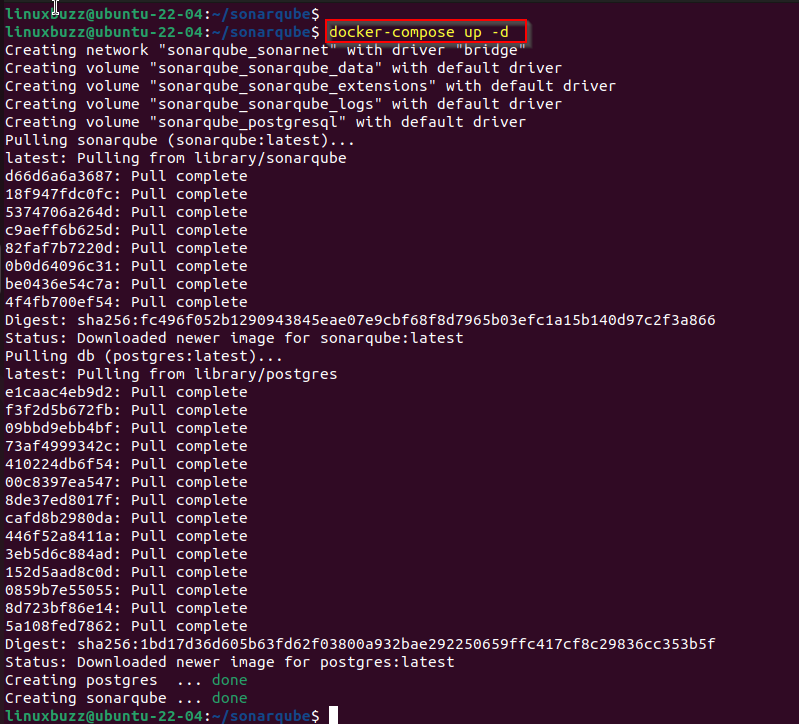
Now that we have our Docker Compose file set up, let’s deploy SonarQube by running the following command:
$ docker-compose up -d
This command will pull the necessary Docker images, create volumes, network and then start the SonarQube and PostgreSQL containers in the background.
Verify the Sonarqube and postgres containers, run
$ docker ps

5. Accessing SonarQube Web Interface
Once the containers are up and running, you can access the SonarQube web interface by opening your web browser and navigating to `http://<Your-System-IP-Address>:9000`. You should see the SonarQube login page as shown below:

Use the default credentials:
- Username: admin
- Password: admin
Upon logging in, you will be prompted to change the default password.
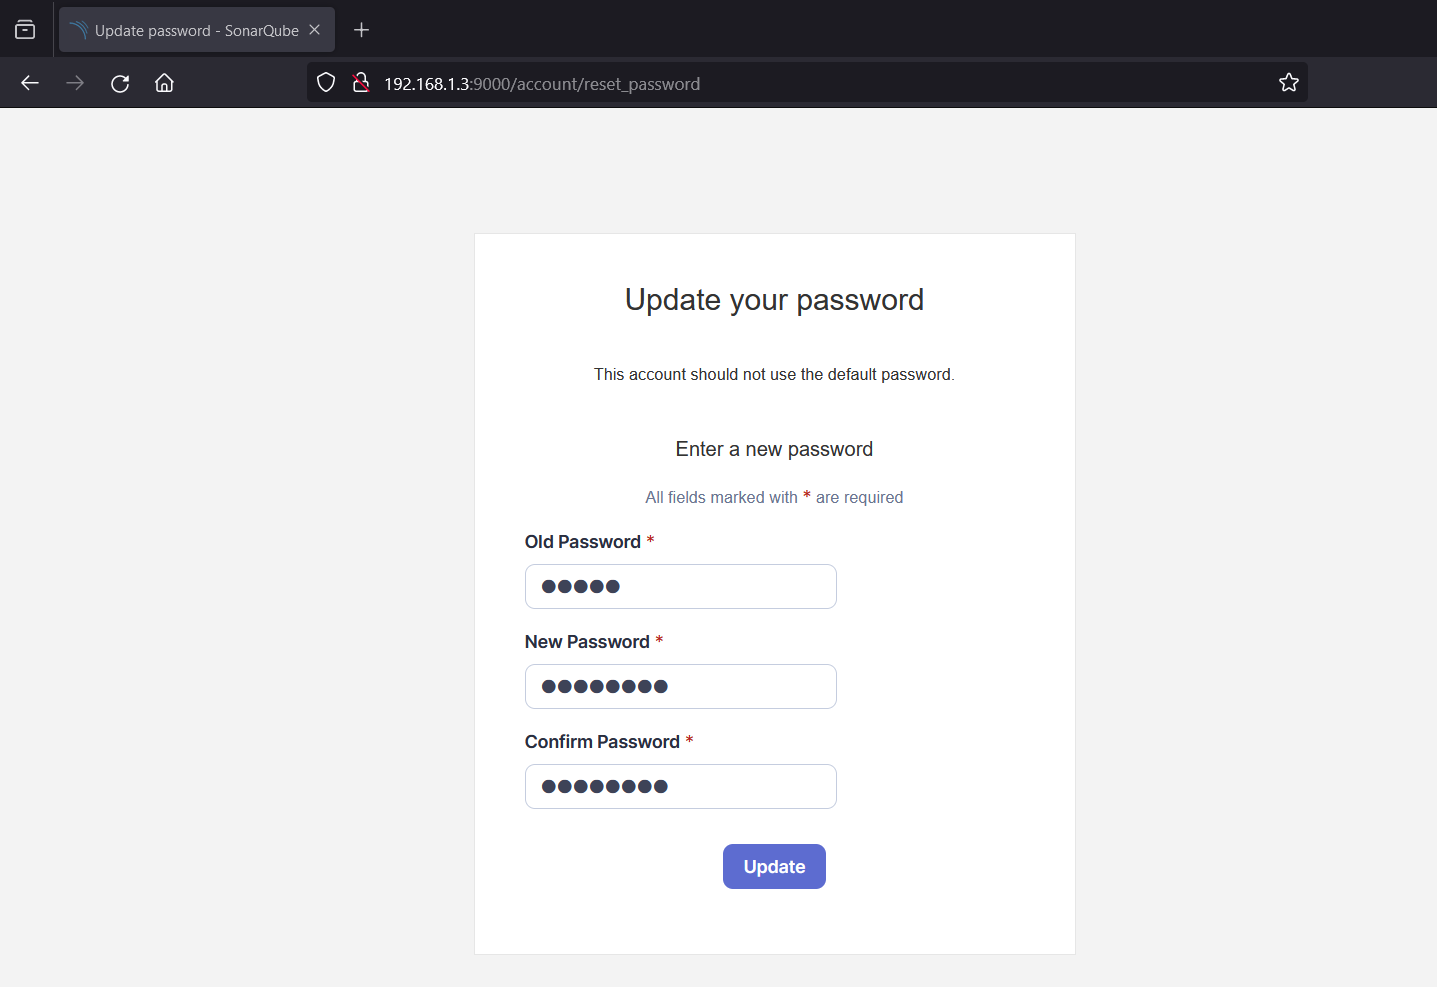
After Entering the new password, click on “Update”
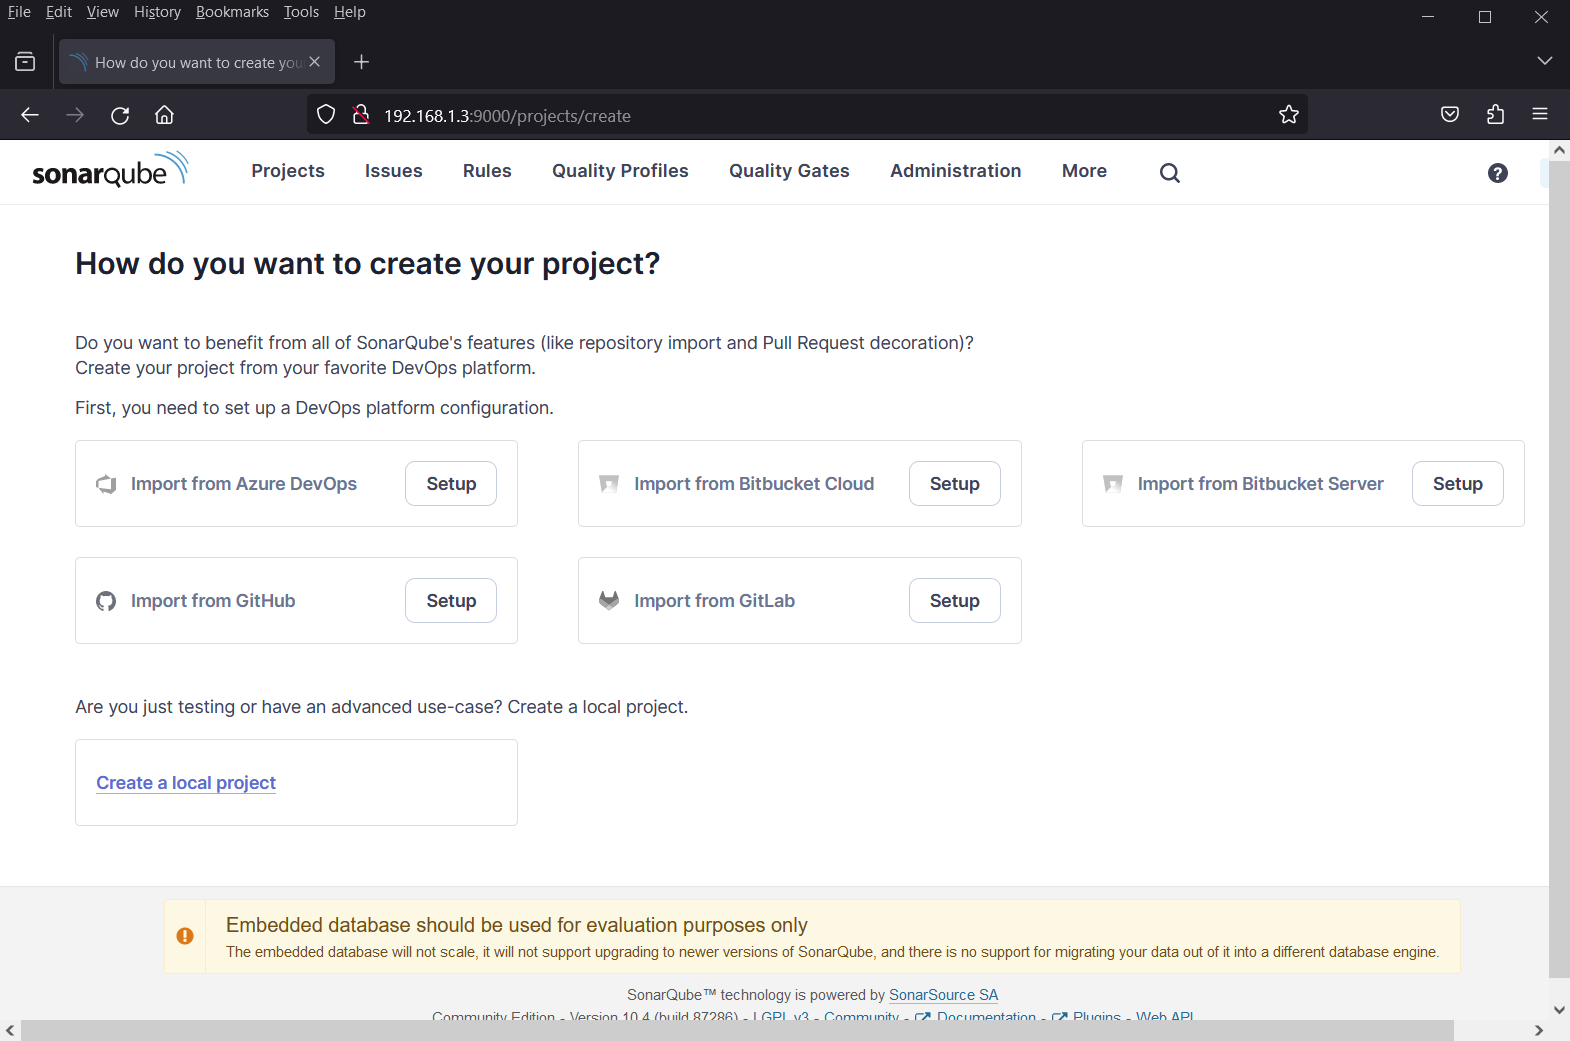
6. Configuring SonarQube
After changing the password, you can configure SonarQube according to your project’s requirements. You can create projects, set up quality gates, and analyze code by following the on-screen instructions.
In order to stop SonarQube, run below command.
$ docker-compose stop sonarqube
Stopping sonarqube ... done
$
To start sonarqube, run
$ docker-compose start sonarqube
Starting sonarqube ... done
$
To remove and uninstall sonarqube, run
$ docker-compose rm sonarqube
That’s all from this guide, I hope you have found it informative and useful. Feel free to post your queries and feedback in below comments section.
Also Read: How to Install Jenkins on Ubuntu 22.04