In the world of DevOps and continuous integration, Jenkins has emerged as a popular automation server that enables developers to streamline their build, test, and deployment processes. If you’re using RHEL 9 or Rocky Linux 9 or AlmaLinux 9 and want to harness the power of Jenkins, this step-by-step guide will walk you through the installation process. By the end of this tutorial, you’ll have Jenkins up and running on your Linux distribution, empowering you to automate your software development workflows effectively.
Prerequisites
- Minimal Installed RHEL 9 | Rocky Linux 9 | Alma Linux 9
- Sudo User with admin rights
- Internet Connectivity
- Red Hat Subscription for RHEL 9 System
Step 1: Update System Packages
Before proceeding with the Jenkins installation, it’s crucial to update your system packages. Start the terminal and run below dnf update command,
$ sudo dnf update
This command will update the package index and ensure that all the existing packages on your system are up to date.

Step 2: Install Java Development Kit (JDK)
Since Jenkins is a Java-based application, you need to have the Java Development Kit (JDK) installed on your system. RHEL 9 and Rocky Linux 9 come with OpenJDK pre-installed. However, we recommend installing the latest version. Run the following command:
$ sudo dnf install java-17-openjdk -y

Verify the Java version, execute below command
$ java --version
openjdk 17.0.7 2023-04-18 LTS
OpenJDK Runtime Environment (Red_Hat-17.0.7.0.7-2) (build 17.0.7+7-LTS)
OpenJDK 64-Bit Server VM (Red_Hat-17.0.7.0.7-2) (build 17.0.7+7-LTS, mixed mode, sharing)
$
Step 3: Add Jenkins Repository
Jenkins is not available in the default repositories of RHEL 9 or Rocky Linux 9. To install Jenkins, you need to add the official Jenkins repository. Execute the beneath commands one after the another.
$ sudo wget -O /etc/yum.repos.d/jenkins.repo \
    https://pkg.jenkins.io/redhat-stable/jenkins.repo
$ sudo rpm --import https://pkg.jenkins.io/redhat-stable/jenkins.io-2023.key
These commands will download the Jenkins repository file and import the repository key.

Step 4: Install Jenkins
Now that the Jenkins repository is added, you can proceed to install Jenkins. Run the following command:
$ sudo dnf install Jenkins -y
This command will install Jenkins along with its dependencies.

Run below command to reload the Jenkins daemon
$ sudo systemctl daemon-reload
Start and enable Jenkins service using following commands
$ sudo systemctl start Jenkins
$ sudo systemctl status jenkins

Step 5: Configure Firewall
Jenkins service run on the port 8080. If you have a firewall enabled, you need to allow incoming traffic on this port. Execute the following command:
$ sudo firewall-cmd --add-port=8080/tcp --permanent
$ sudo firewall-cmd --reload
These commands will add a rule to your firewall to allow incoming connections on port 8080 and reload the firewall configuration.
Step 6: Access Jenkins Web Interface
With Jenkins installed and the necessary configurations in place, you can now access the Jenkins web interface. From the web browser, enter the following URL:
http://your_server_ip_or_domain:8080
Replace “your_server_ip_or_domain” with the IP address or domain name of your server.
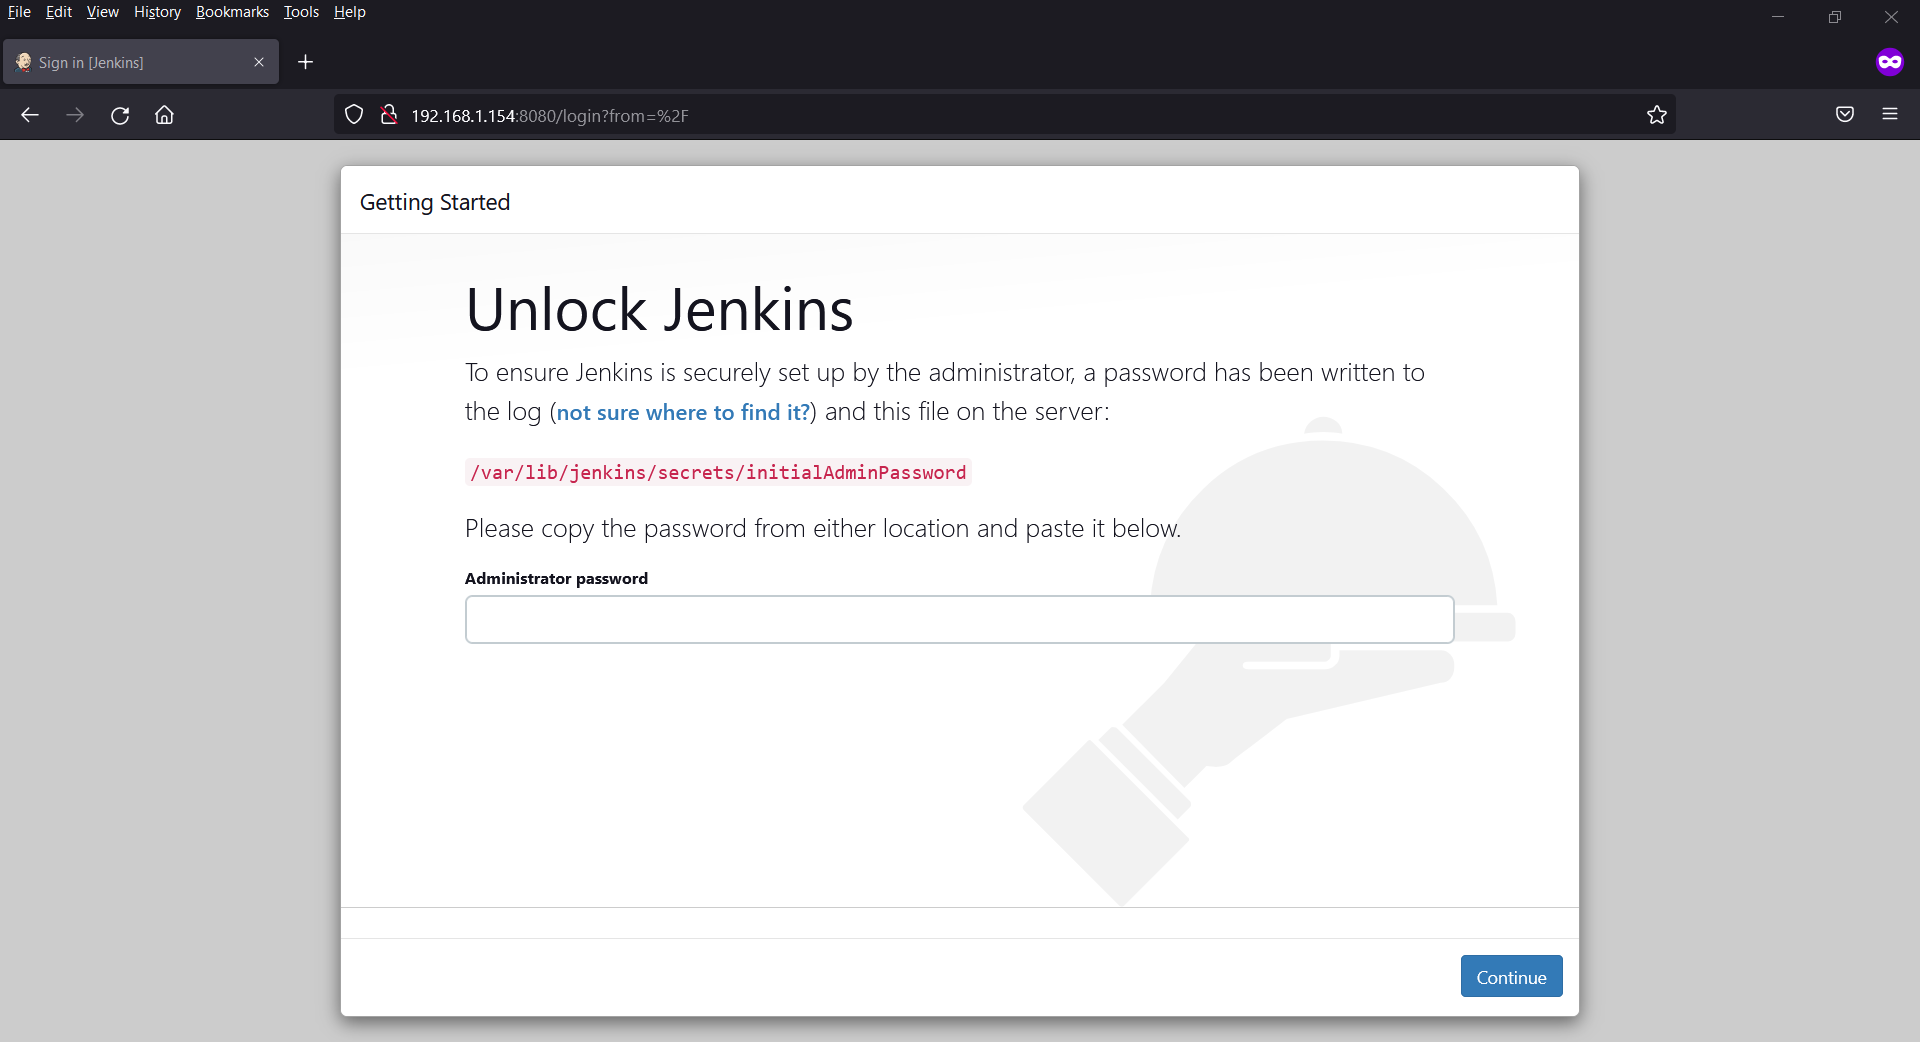
Step 7: Unlock Jenkins
Upon accessing the Jenkins web interface for the first time, you will be prompted to enter the administrator password. Retrieve the password from your server’s Jenkins installation directory using the following command:
$ sudo cat /var/lib/jenkins/secrets/initialAdminPassword
Copy the password and paste it into the Jenkins web interface and then click on Continue,
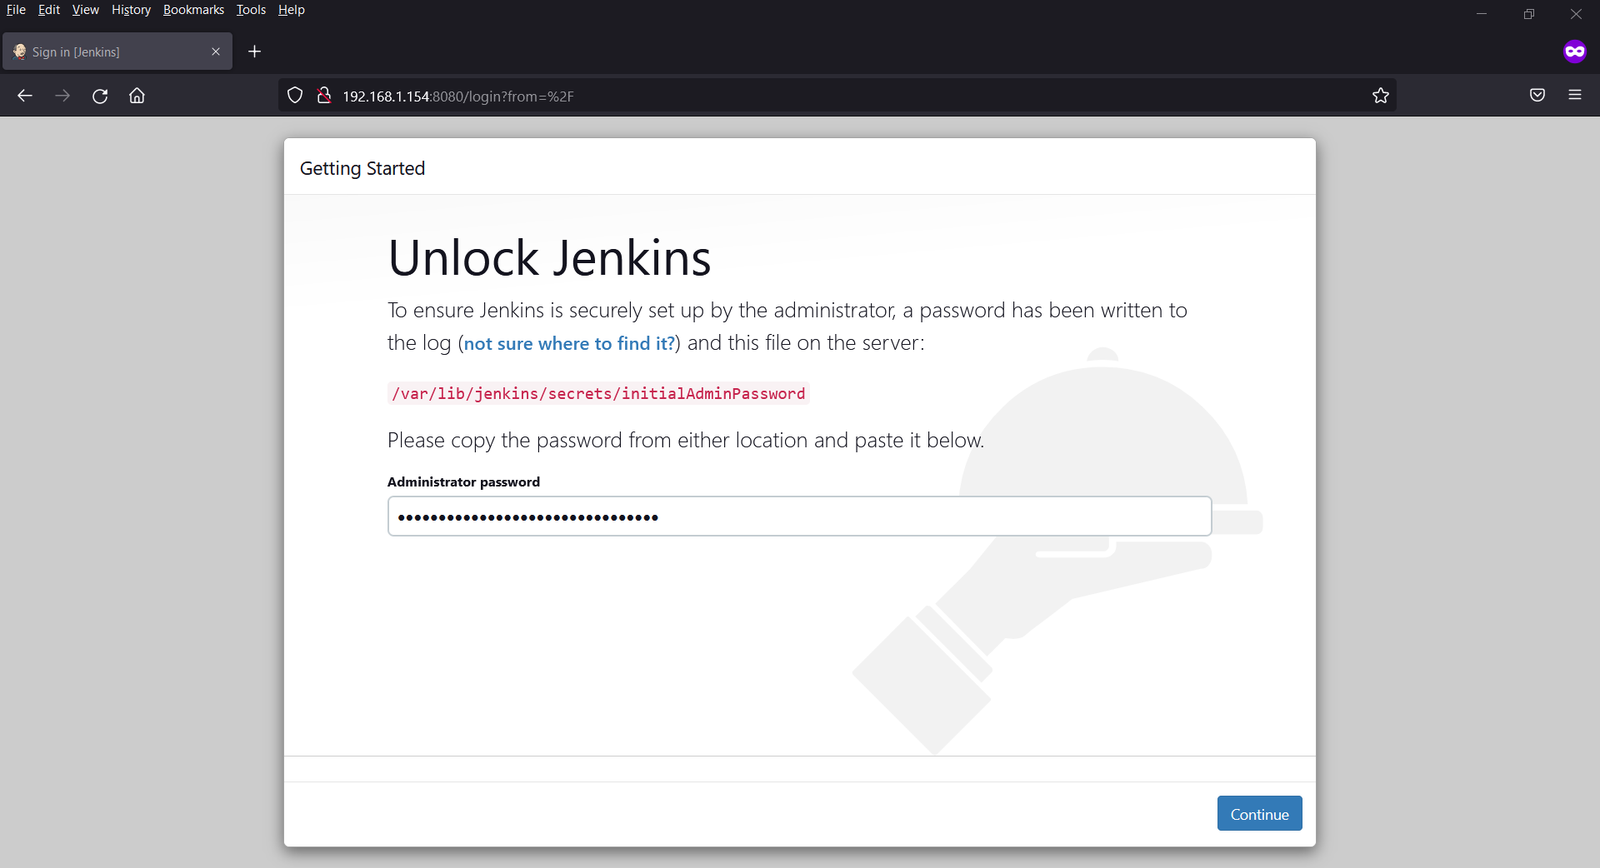
Step 8: Install Recommended Plugins
After unlocking Jenkins, you will be presented with the option to install the recommended plugins.
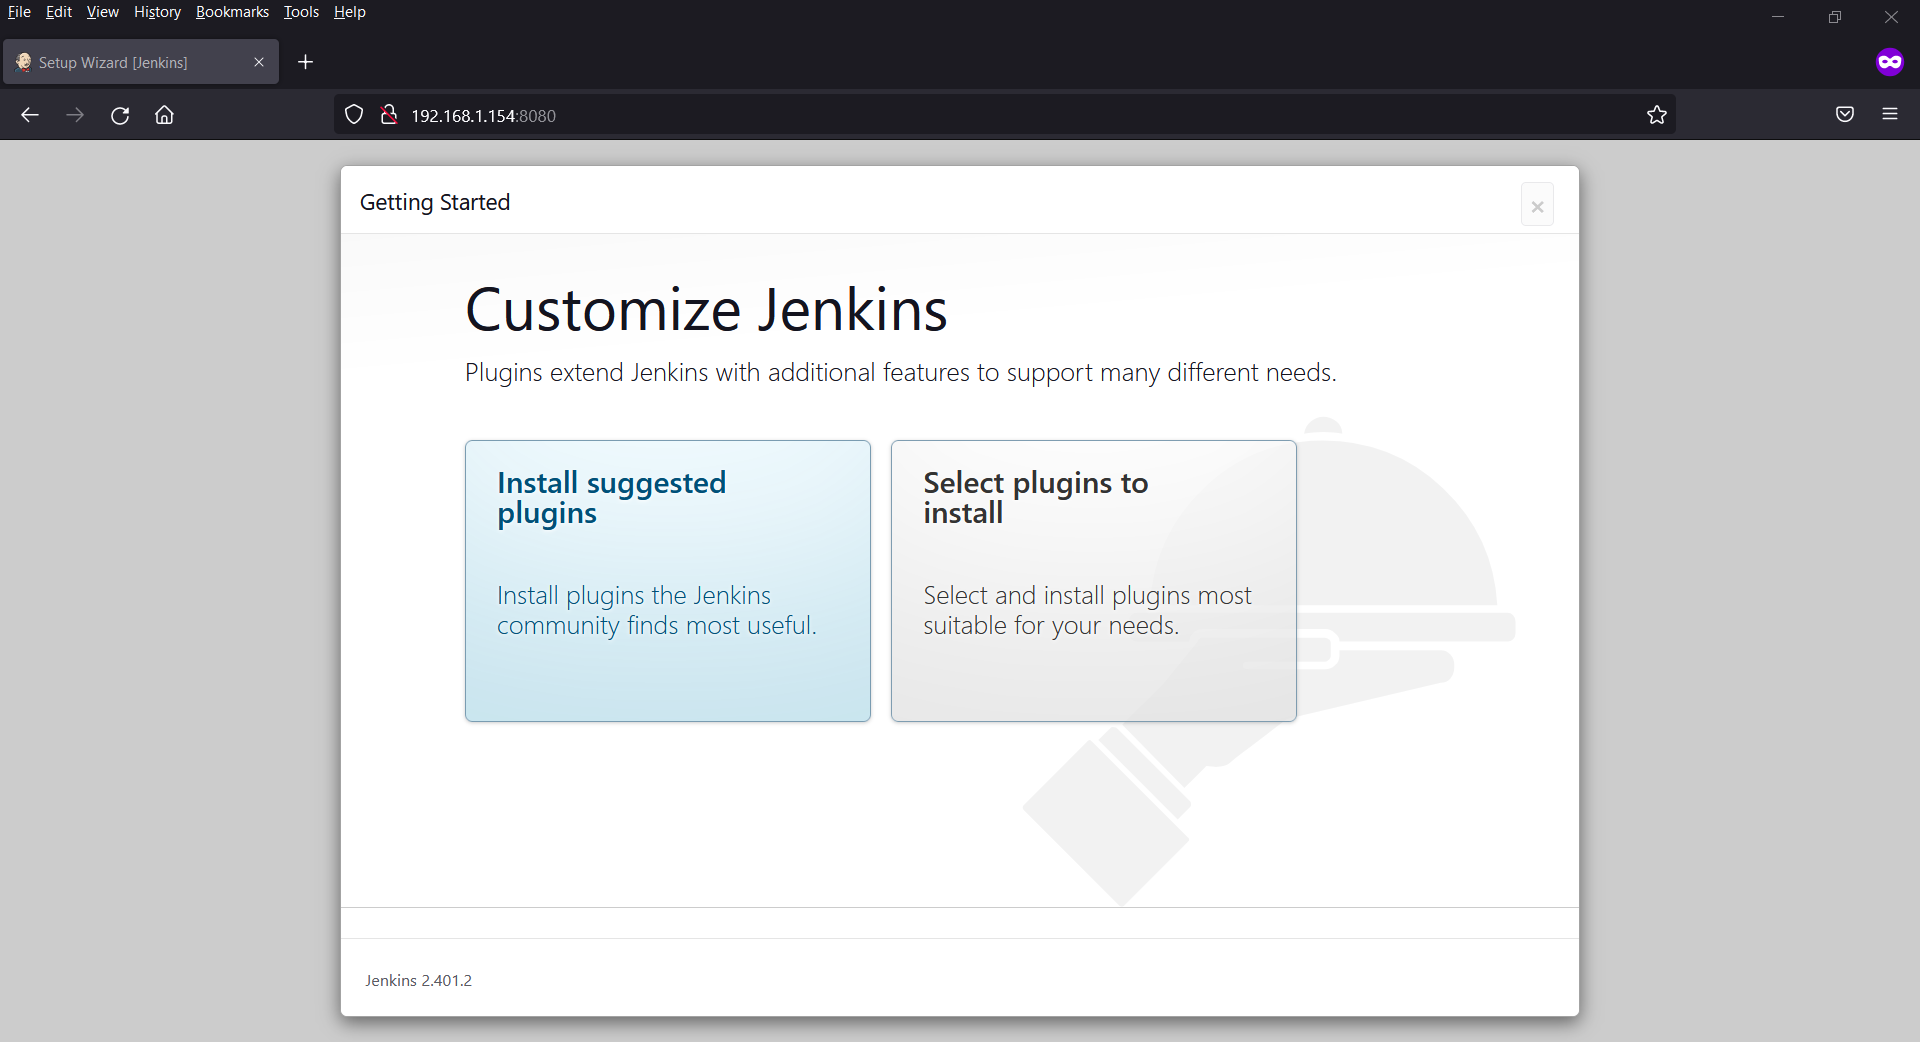
Choose the “Install suggested plugins” option. This will install a set of essential plugins that will help you get started with Jenkins.
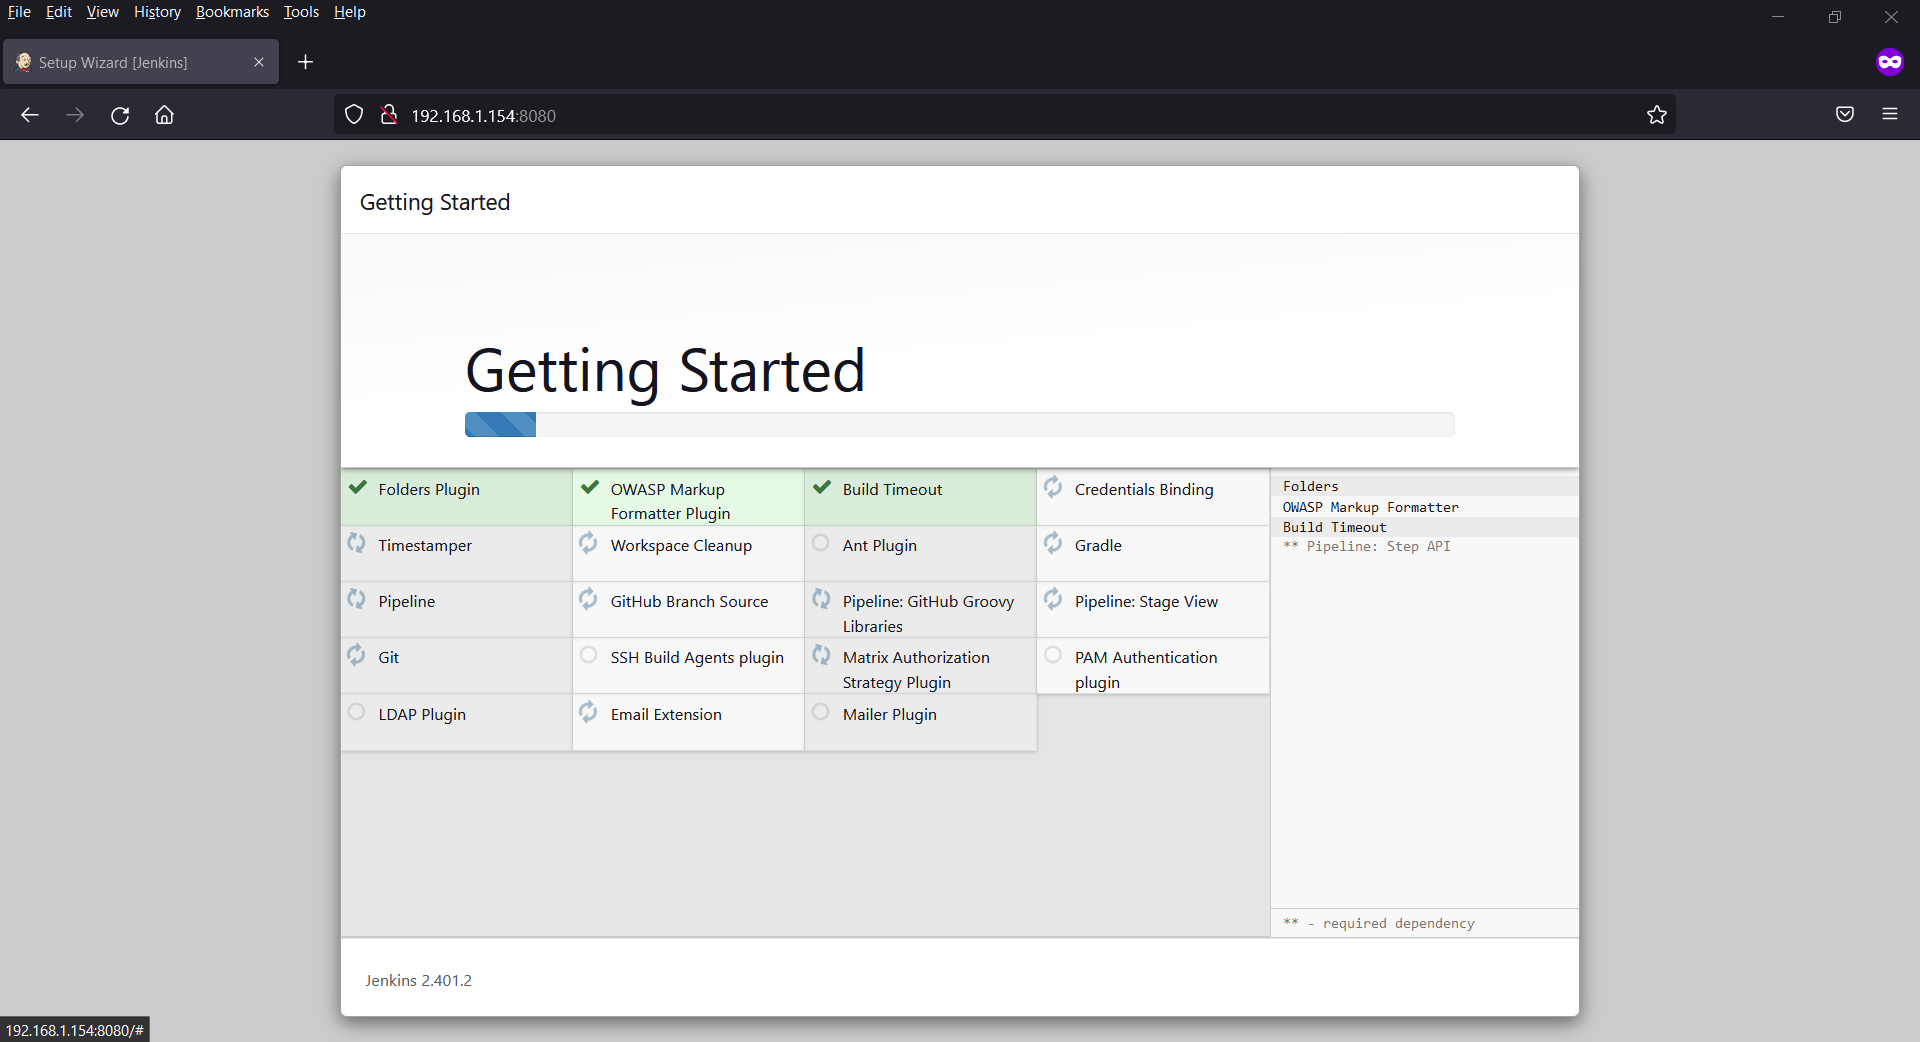
Step 9: Create an Admin User
Finally, you’ll need to create an administrator account for Jenkins. Fill in the required information to set up your admin user.
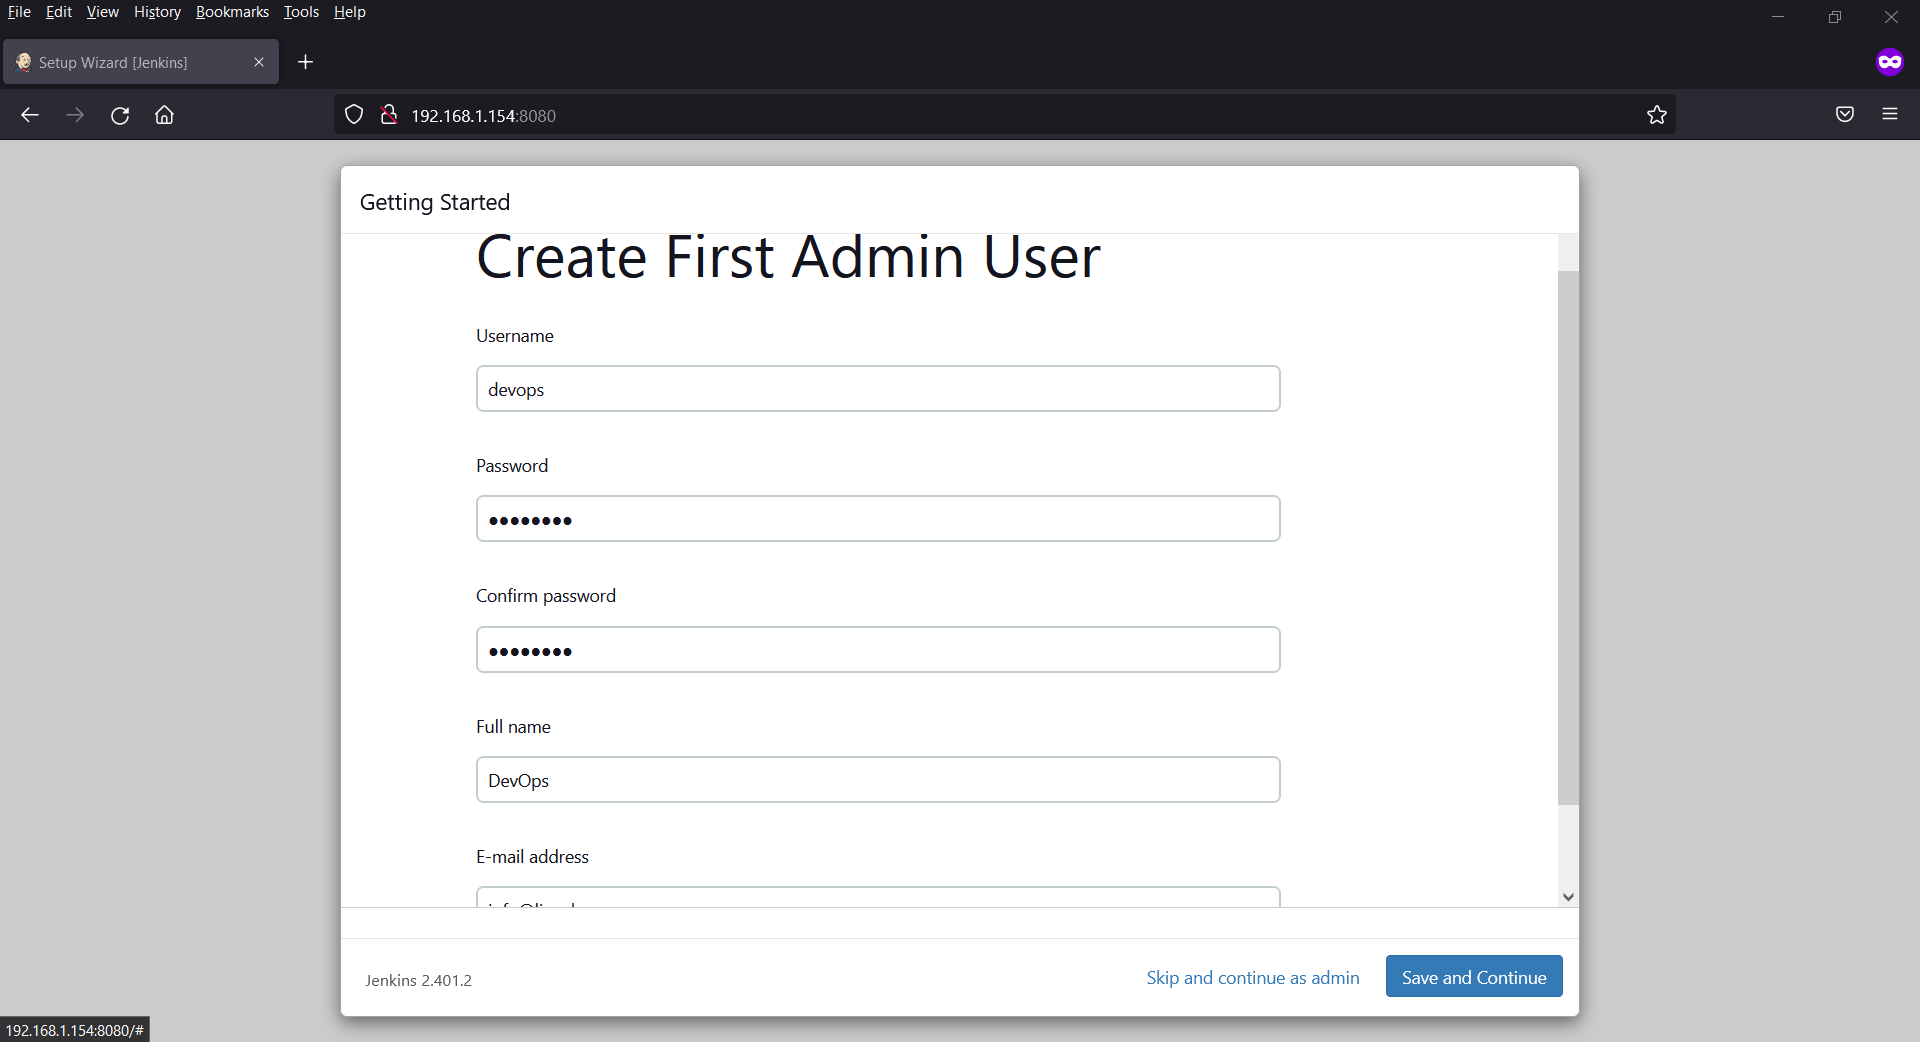
Click on “Save and Continue”
In the following screen, cross check your server ip address in Jenkins URL.
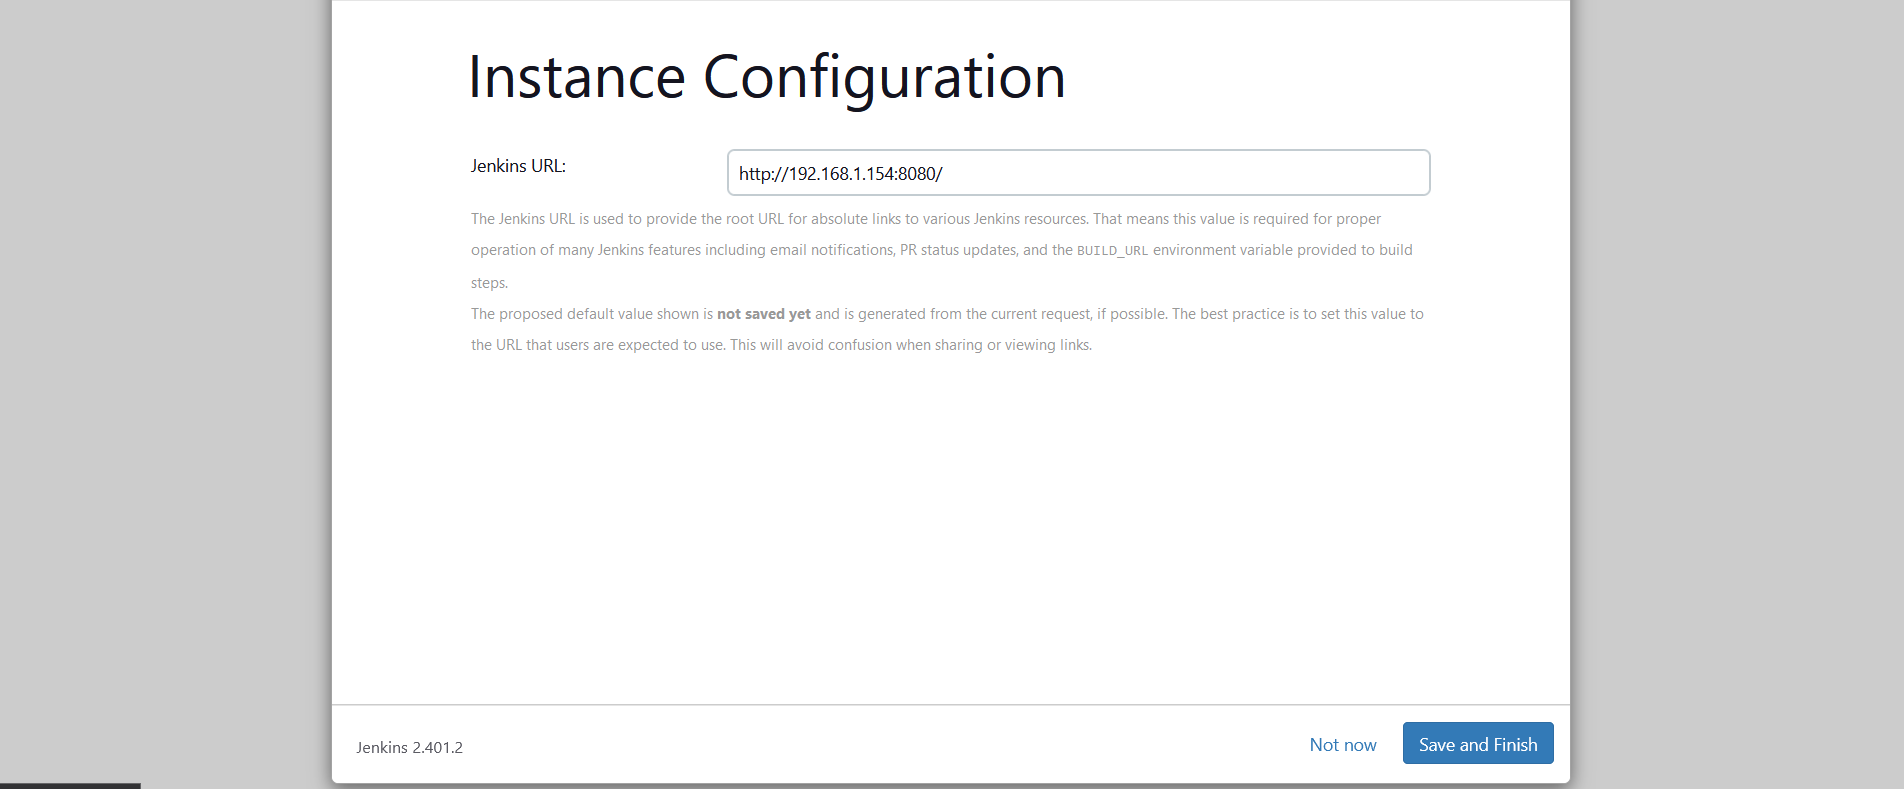
Click on “Save and Continue” to finish the Jenkins installation.
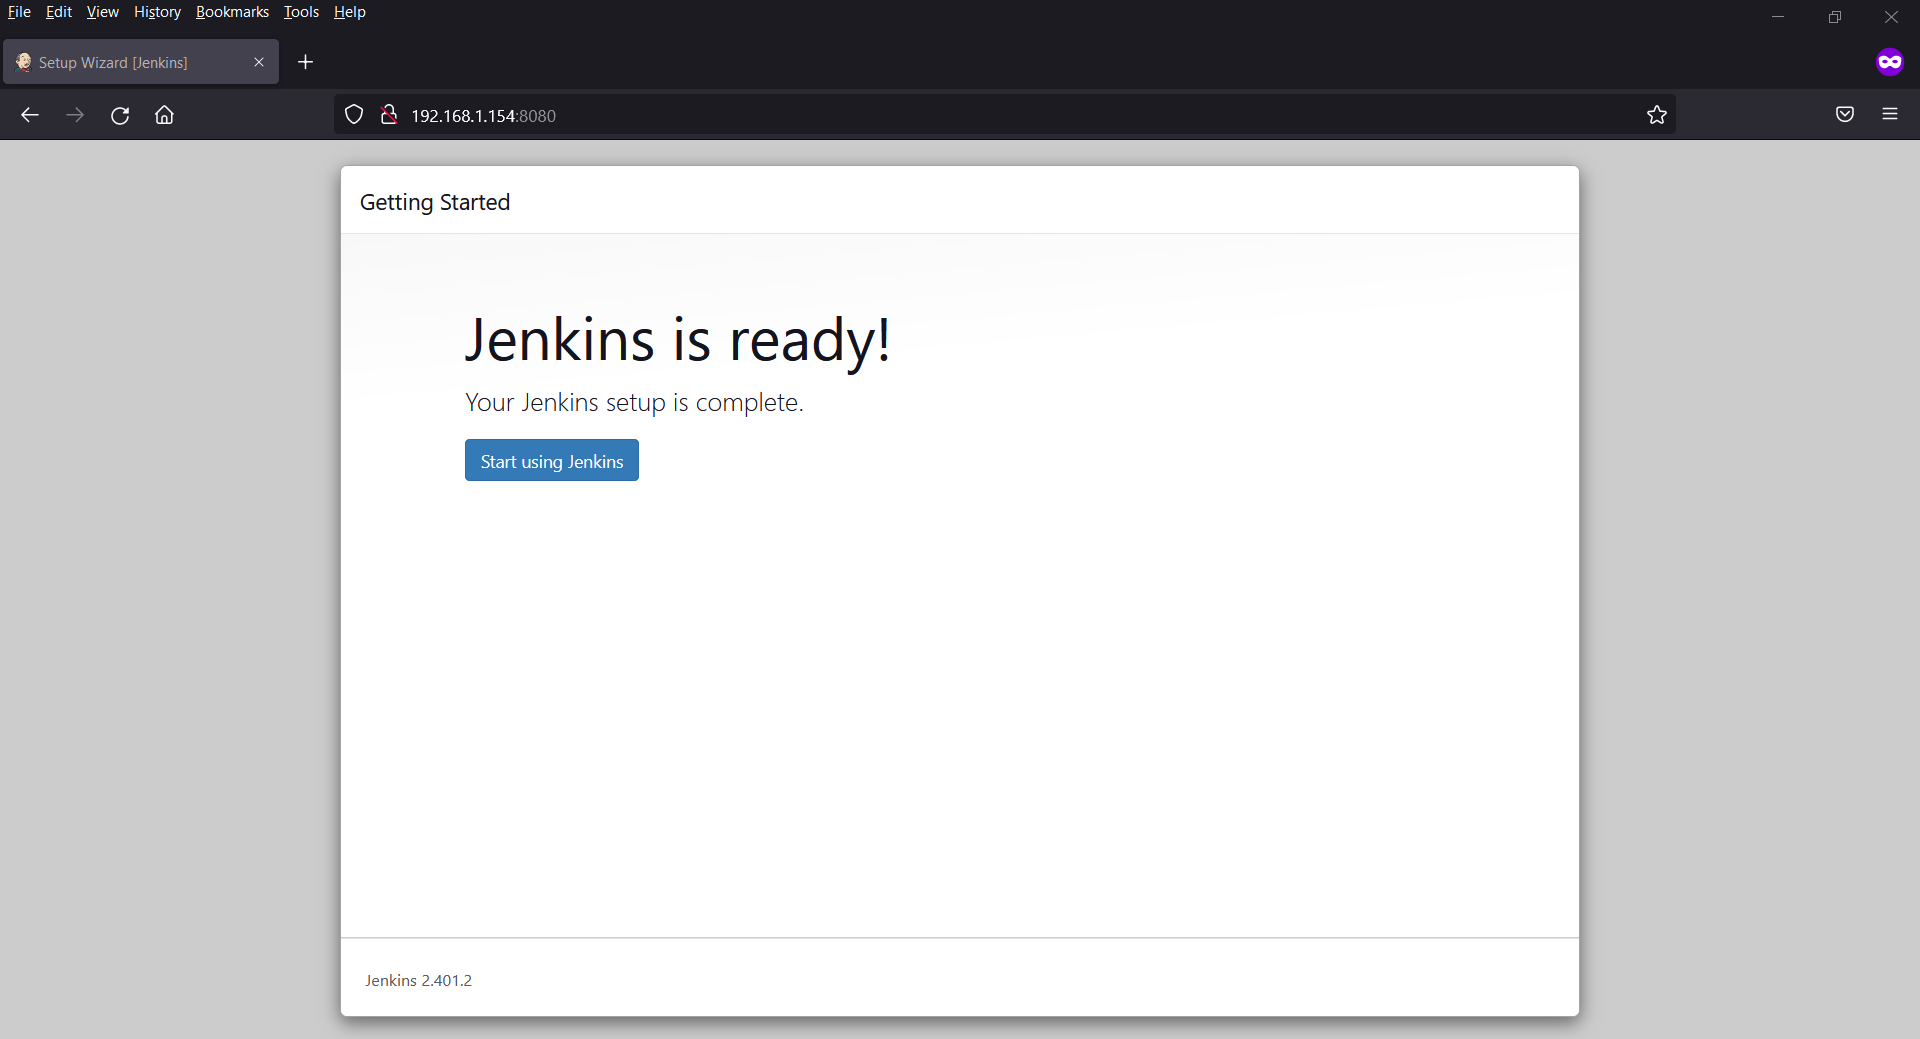
Click on “Start using Jenkins”, this will take us to Jenkins Dashboard
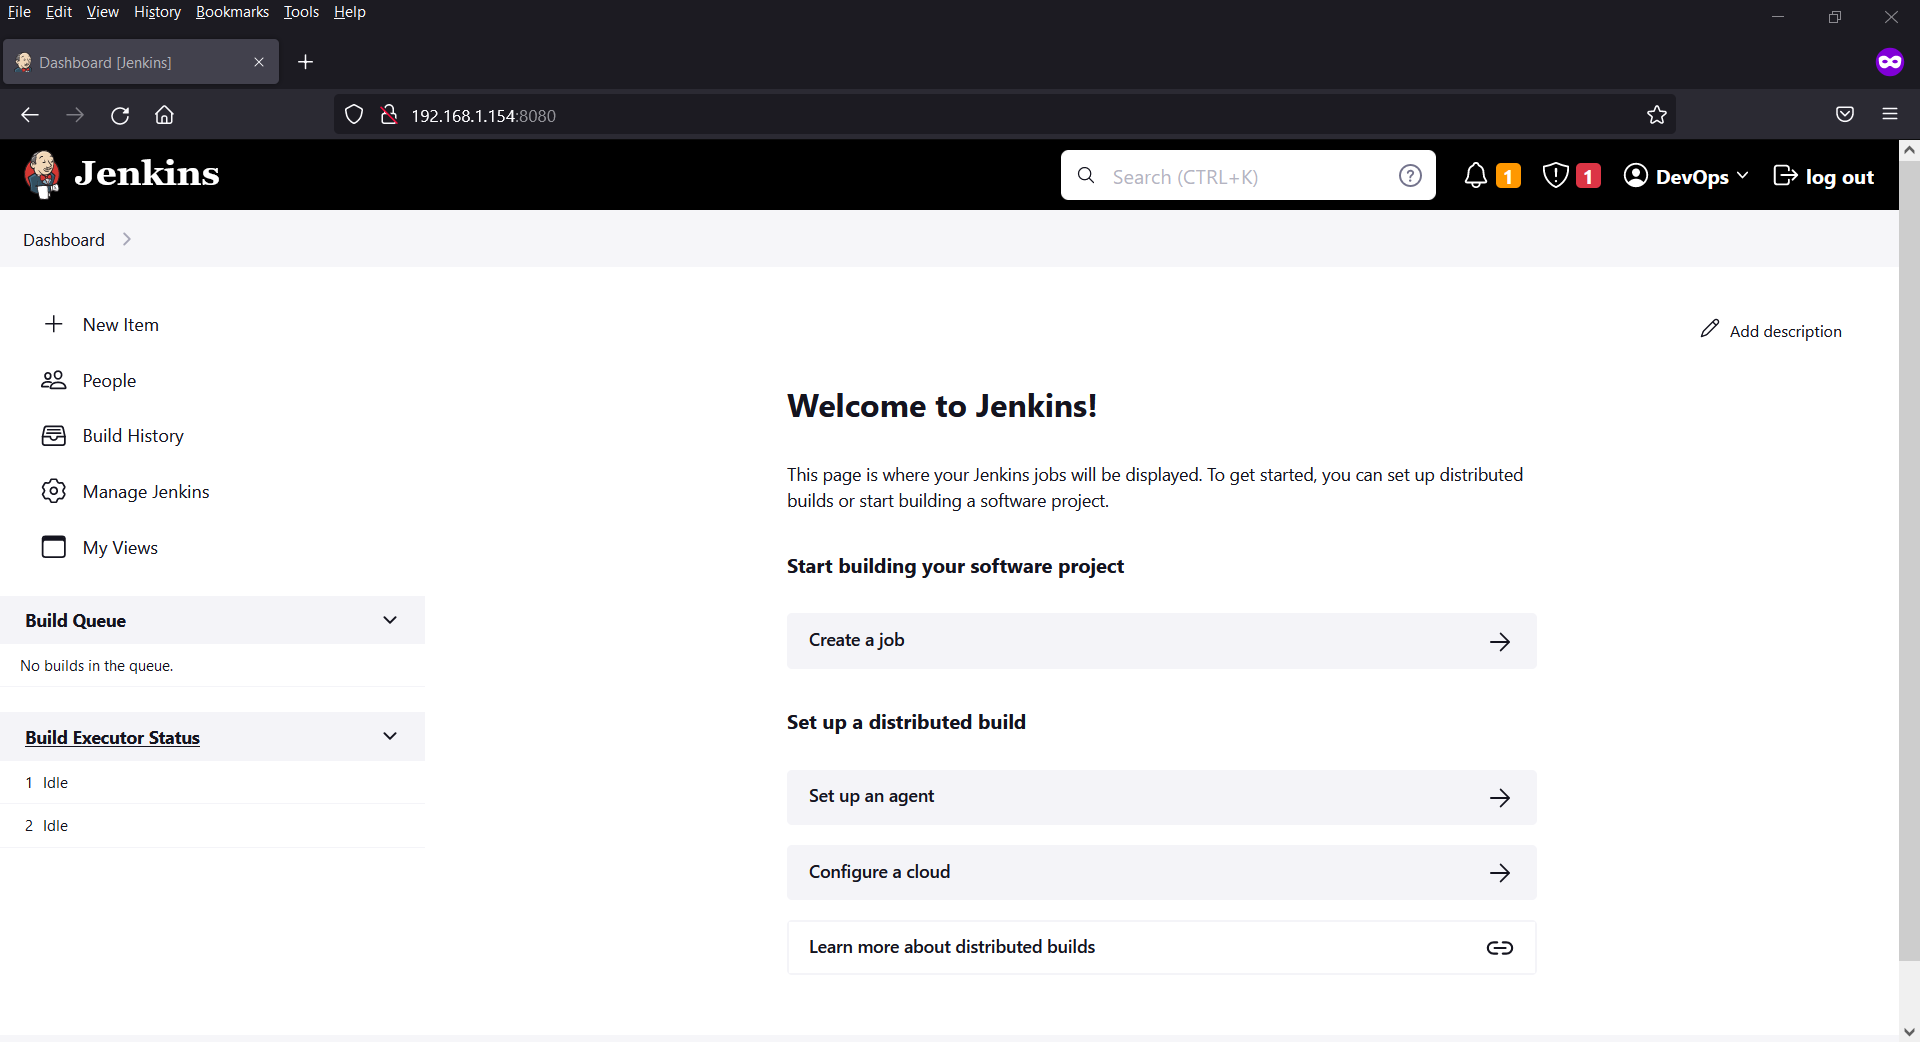
Step 10: Test Jenkins Installation
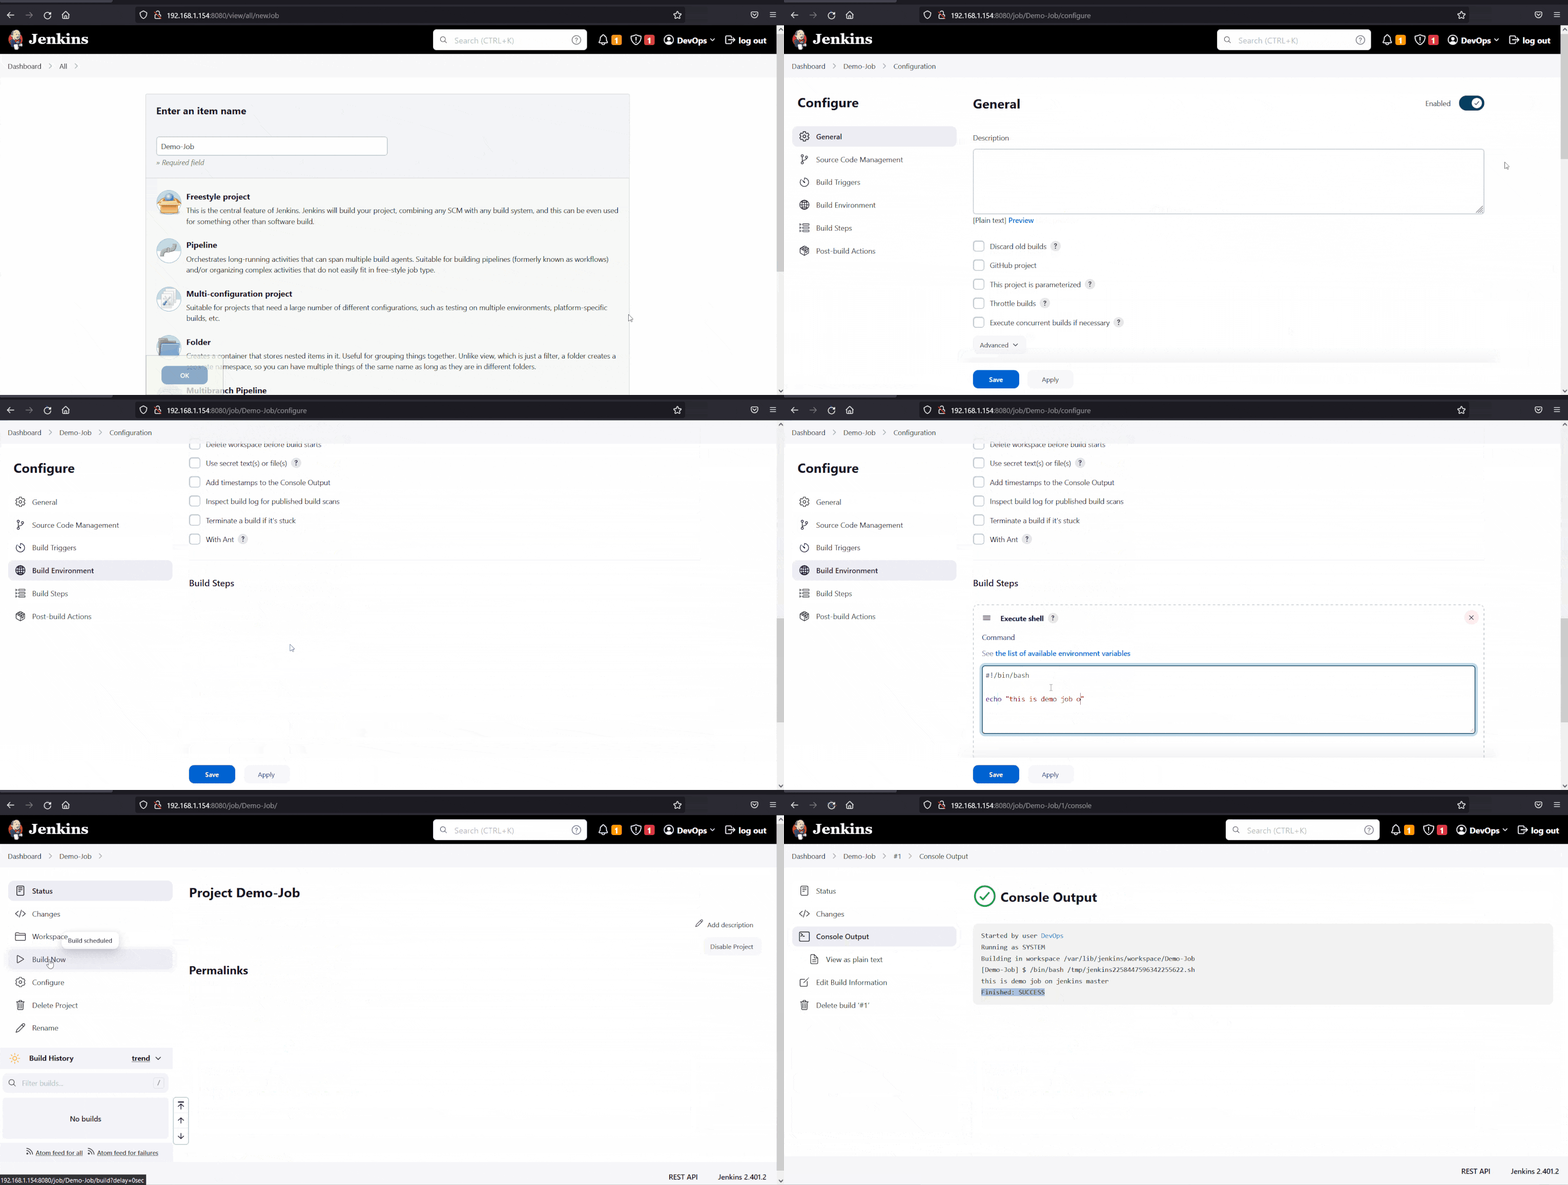
To test Jenkins installation, let’s create a job and run couple of shell commands.
From the Dashboard click on ‘New Item’ and follow the instructions as shown below,
Conclusion
Congratulations! You have successfully installed Jenkins on RHEL 9 or Rocky Linux 9. By following the steps outlined in this guide, you can now leverage Jenkins to automate your software development workflows and improve your overall development efficiency. Jenkins provides a powerful platform for continuous integration and delivery, helping you build, test, and deploy your applications with ease.
Brilliant step-by-step documentation. Why can’t all the online documents be as simple and self-explanatory as this?